


Daily Reports Quick Reference Guide
This topic provides a reference for the Project Center Daily Reports activity center.
Click here to download a PDF of the reference guide.
Purpose
Use daily reports to create an official record of the jobsite status and activities for the day.
Audience
Construction superintendents.
Tasks covered
● Finalize and distribute the daily report
● Revert a daily report to draft status
● Create the next daily report
● View daily reports on Info Exchange
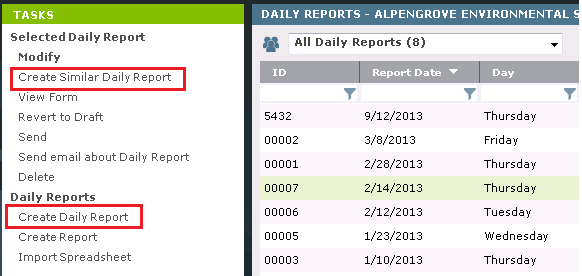
To create a daily report
1. In the
Daily
Reports activity center, click Create Daily Report in
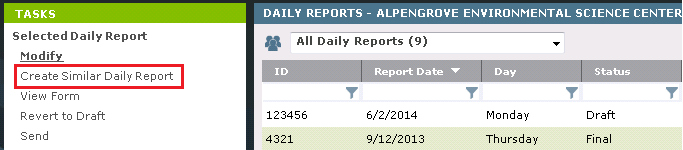
the Tasks panel. Alternately, highlight
an existing report and select Create
Similar Daily Report to save
data entry time. All infomration (except the ID) copies to the new record.
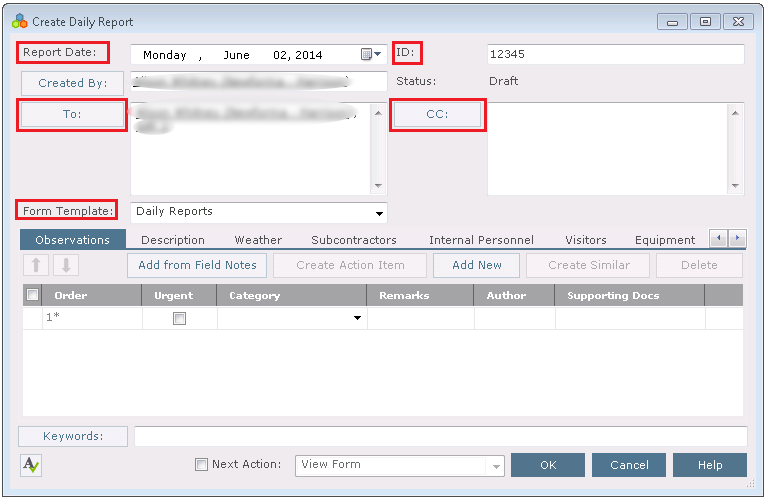
2. In the
Create Daily
Report dialog box, Fill in the Report Date and
ID and add contacts in the To and CC fields for distribution
of the final report. Select the Word Form Template that will be
merged for the final report.
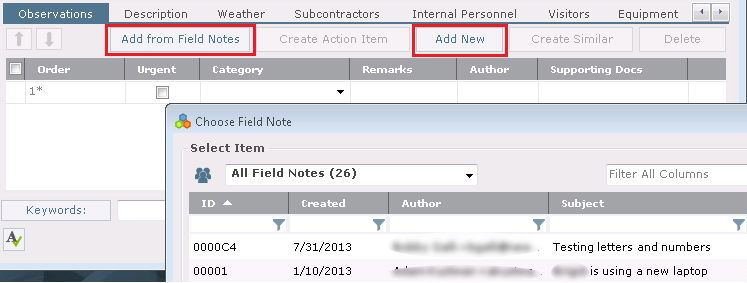
3. Go to
the Observations tab and add observations using the Add New
button for a blank row, or Add from Field Notes to select from
the Field
Notes activity center. The source field note is not affected by edits
made in the resulting daily report observation.
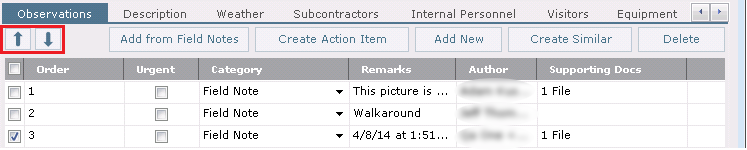
4. Add data as needed for the observation.
-
To change the order of the observations, select the checkbox for an observation and use the up/down arrows to change its position.
-
Category is a required field. The list is controlled in keywords by the Global Administrator.
-
Add a description of the event, activity or issue in the Remarks field. Use the ellipsis button to open a larger window for editing the field.
-
Author defaults the name of the current user. If added from field notes, the author of the field note is entered in that field.
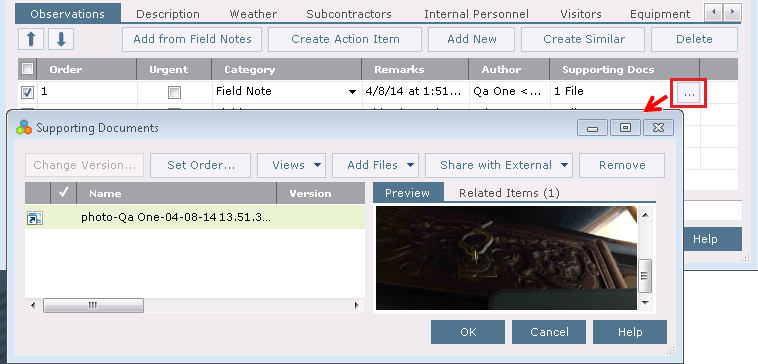
5. Any media
files brought in via field notes are attached to the observation row in
the Supporting Documents field. Use the ellipsis button to view
the attached media, or to browse Project
Files to select additional files.
6. Other
items can be added in observations.
Select the checkbox of an observation
item. Then use the buttons to either Create Action Item, Create
Similar (which copies the observation row to add a new one), or Delete.

7. If you
click Create Action Item, it embeds the action item on the Observations tab. The action item
pane can be viewed or hidden using the expand/collapse button for the
observation. Fill out the minimum fields for the action Item. To add more
information or to update the action item status, use the Action
Item activity center.

8. On the
Description tab list overall comments about the day. Text in the
Internal Notes section is not
included in the final report and is not visible on the Info Exchange to
external team members.

9. On the
Weather tab click the Add New button to add weather data
for the day. Add new rows for each weather reading taken during
the day.

10. On the Subcontractors tab click the Add New button to add rows listing subcontractors on site for the day.
-
Click in the Company field and use the ellipsis button to select a company from the Choose Company dialog box. The Discipline field fills in from the company record.
-
Enter the Headcount for number of subcontractor employees on site, and enter text for Description of Work performed by the subcontractor.
-
Subtotals at the top of the tab count the number of companies and subcontractor headcount based on the row information.

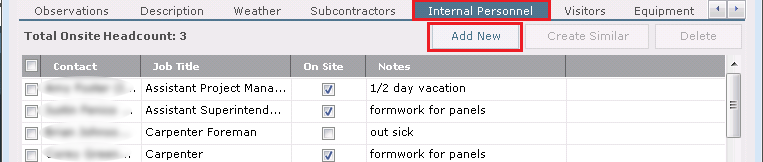
11. On the Internal Personnel tab click the Add New button to add any internal personnel.
-
Click in the Contacts field and use the ellipsis button to select contacts from the Choose a Project Team Member dialog box. The selection list is filtered to display internal team members. The Job Title field fills in from the contact record.
-
Use the On Site checkbox to indicate whether the individual is at work that day. Enter text in Notes field to describe work performed.
-
The subtotal at the top of the tab counts the number of employees on site that day based on the row information.
12. On the Visitors tab click the Add New button to add rows for any visitors on the job site for the day.
-
Click in the Company or Contact field and use the ellipsis button to select the company or contact to add to the visitors list. The Job Title field fills in from the contact record. Alternatively, type the information into the field if the visitor is not a regular part of the team.
-
Enter text in the Purpose field to describe the reason for the visit.
-
The subtotal at the top of the tab counts the number of visitors on site.

13. On the
Equipment tab click the Add New button to add rows listing
any equipment on site for the day. You can select from the Equipment
drop-down list or type in the equipment name. This information can
be helpful for accounting to validate rental invoices.

14. Add files
on the Supporting Documents tab as needed. They can be included
as attachments to the final transmitted daily report. Examples are daily
reports submitted by the subcontractors, safety incident reports, delivery
tickets or material test reports from lab personnel.

In order for supporting documents to be visible to external team members on the Info Exchange website, each file must be specifically shared. Highlight the supporting document file name, click the Share with External drop-down and select Yes to share the file.
15. Click OK when done to save the report.
To finalize and distribute the daily report
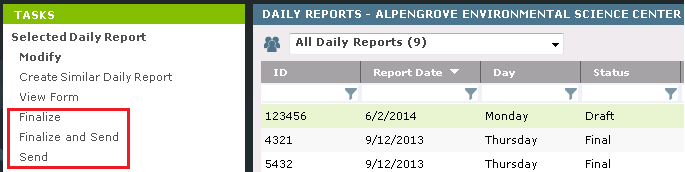
The Finalize action changes the status of the site visit report to Final. That makes the record read-only and a PDF of the report is saved in the Project Files Record Copies folder. If changes are needed before sending, the report can be reverted to Draft (see below).
1. To finalize a daily report, highlight a draft daily report in the Daily Reports activity center and select Finalize from the Tasks panel.
2. Once finalized, the Send action takes you through the steps of distributing the report via email or Info Exchange. If you decide you are not ready to do this you can close the screen and perform this step later from the Tasks panel.
3. The Finalize
and Send action combines both of these actions together.
To revert a daily report to draft status
If you need to make changes to a finalized daily report, use the Revert to Draft task.
1. Select
the finalized daily report in the Daily
Reports activity center and select Revert
to Draft from the Tasks panel.
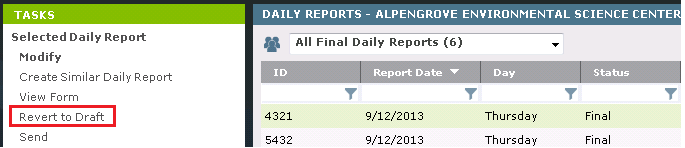
2. Make edits, re-finalize, and re-send the daily report. A new PDF of the revised report will be saved in the Record Copies folder (along with all previous versions) and latest version is displayed on the daily report's Preview tab.
The Change Log tab shows the history of each finalization.
To create the next daily report
Once a daily report is created and saved, you can use it as the basis for the next daily report within the same series.
1. Highlight
the daily report in the Daily Reports
activity center select Create Similar Daily Report from the Tasks panel. This option saves data
entry time when creating the next day’s report. All information (except
the ID, Weather
tab info, Supporting Documents
and Related Items) copies into
the new record, and can be edited as needed.
To view daily reports on Info Exchange
Both internal and external project team members can view, edit, and create daily reports from the Info Exchange website (depending on permissions).
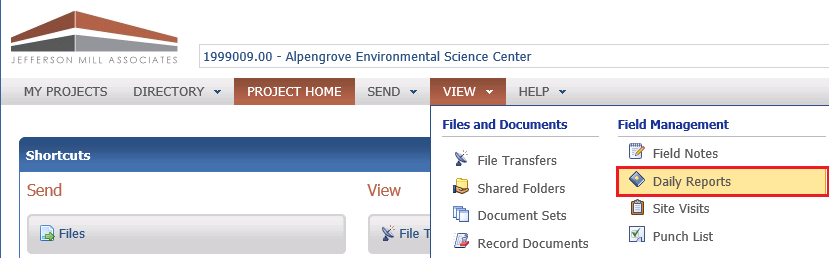
1. Log into the Info Exchange website
and select the project. Select View
> Field Management > Daily Reports.
By default external users can only see daily reports they send or recieve.
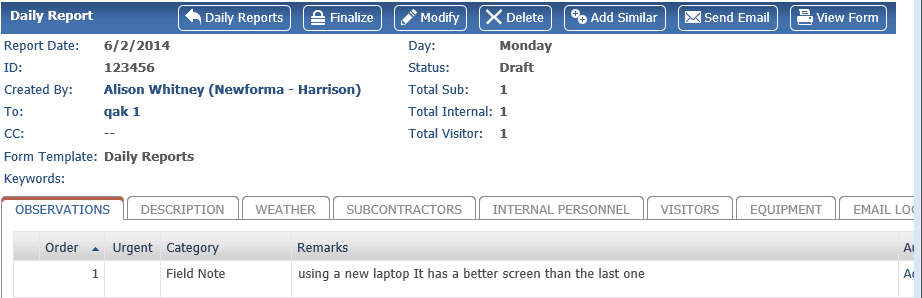
2. In
the Daily
Reports log, click on a particular daily report to see the details.
Use the buttons on the Daily
Report page toolbar to finalize, modify, delete, create next in series
and more.
Supporting documents are available by default for internal users on the Info Exchange website. To share them with external users, the file has to be marked to Share with External from the daily report in Project Center.
Key features
● Integration with Field Notes mobile app for collecting team observations and photos on the go.
● Copy forward the previous day’s report for easy editing.
● Embedded action items to track accountability for follow-up activity.
● Record work progress, deliveries, major events, weather observations, subcontractor headcount & activities, internal personnel, visitors and rental equipment.
● Draft and Final status to protect report from inadvertent changes.
● Full functionality through the Info Exchange website interface.
Table of Contents
Index
Search (English only)
Back