


Document Sets Quick Reference Guide
This topic provides a reference for the Project Center Document Sets activity center.
Click here to download a PDF of the reference guide.
Purpose
Use Newforma document sets to manage your project’s key deliverables and keep information related to a particular task together without moving, copying, or in any way affecting the actual underlying files.
Audience
Internal Newforma Project Center users.
Tasks covered
● Create a record copy of a document set
● View document sets on Info Exchange - internal users only
● Create an image gallery on Info Exchange
To create a document set
1. From
the Project Document
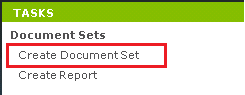
Sets activity center, click Create Document Set in
the Tasks panel.
2. In the
Create Document
Set dialog box, enter a Name for the set, then select the Contents tab. Click Add Files
or Add Folder to browse out and select files you want to add to
the set. Use Add Files or Add Folder as many times as needed
to select files in different locations. Click OK when done.

Files shown on the Contents tab are not copies of files, but are links to the actual project files on your server. When opened, they bring up the latest copy from your project files.
Using Add Folder does not automatically add files from subfolders. Files in subfolders need to be added as a separate step.
If you choose Add Folder, any files added to that folder in the future will automatically be added to the document set.
To distribute a document set
You can easily distribute the files in a document set through email or Info Exchange.
1. To
distribute via an Info Exchange transfer, select the document set and
click Info Exchange > Transfer and
Log Transmittal in the Tasks
panel.
![]()
2. Select
the files you want to transfer and click OK.
![]()
3. The Transfer
Files and Create an Outgoing Transmittal dialog box opens. Enter the
recipient(s) in the To
field, fill out any other information
and click Create
and Transfer.
![]()
To create a record copy of a document set
To make a copy of files in a document set for milestone or other purposes, you can create a record copy.
1. Select
the document set and click Create Record Copy from the Tasks
panel.

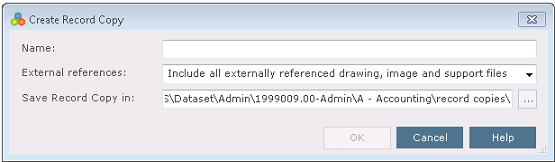
2. Give
the record copy a Name, indicate
if you want to include external references, indicate where you want to
save the record copy, and click OK.
3. If you
opted to include external references, Newforma searches for and displays
any references found for you to confirm or remove.

4. Click Continue to finish creating the record copy.
To compare document sets
You can compare document sets to other document sets, record copies, or project folders to see what files have been added, removed, changed, or have remained unchanged.
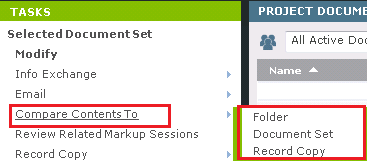
1. Select
the document set and click Compare Contents To from the Tasks
panel. Choose to compare it to a folder, another document set, or a record
copy.
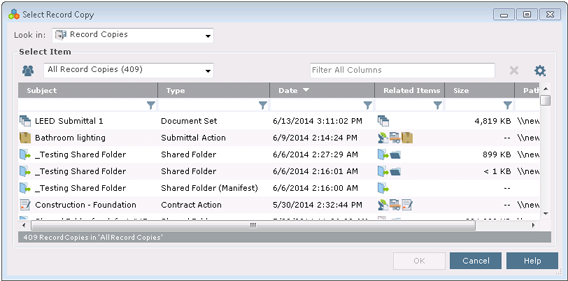
2. A dialog
box opens for you to select the folder, document set, or record copy to
compare to.
3. Once
selected, the Compare Results window opens. A
logical comparison would indicate the older set of files in the Baseline selection and the newer
set of files in the Revised selection.
If needed, you can click Swap Baseline and Revised Selections from
the Tasks panel. Use the color
key to understand which files were added, removed, changed or left unchanged
between the sets.

To view document sets on Info Exchange - internal users only
As soon as a document set is created, the contents are available for internal users on the Info Exchange website. This is a great way to make files available to users when working in the field.
1. Internal
project team members can view and open files from document sets on the
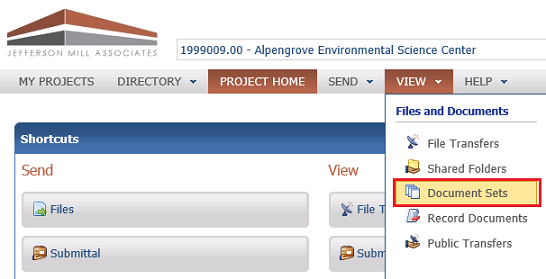
Info Exchange website. To do this, click View
> Files and Documents > Document Sets from the menu bar.
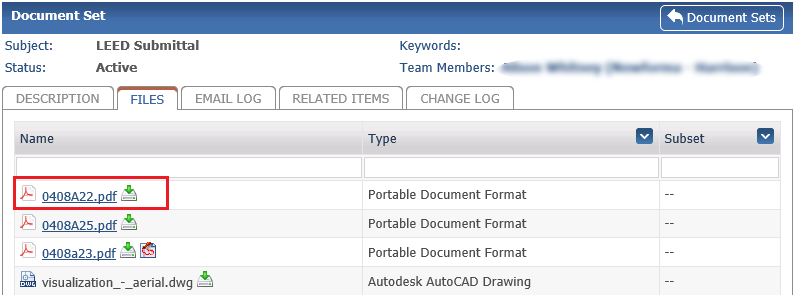
2. Click
on a document set Name to see
the files. You can select each file to view or select the download icon.
To create an image gallery on Info Exchange
A document set can be created to share photos on the Info Exchange website for both internal and external project team members to view. You can create up to three image galleries.
1. To create
an image gallery, set up a document set as normal, but also check Share
in Image Gallery, then select A, B, or C from
the drop-down.
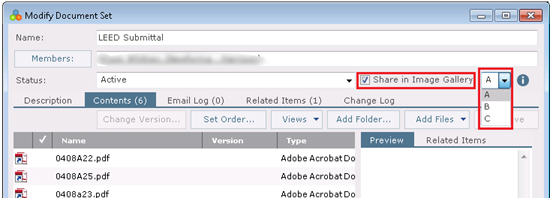
2. Use Add Files or Add Folder to add image files to the set, and then click OK when done.
3. The document set is automatically set as a shared folder and the image gallery can be added as a widget to the Project Home page on the Info Exchange website.
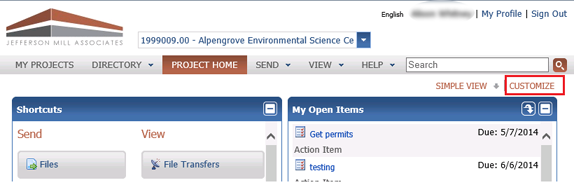
4. To add
the image gallery to your Project Home
page, log into Info Exchange, pick the project, then click the Customize
link.
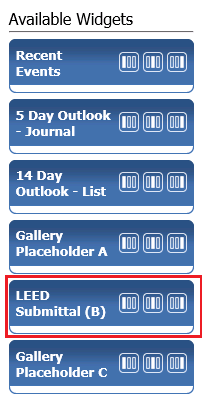
5. Select
the image gallery from the Available
Widgets and click the left, middle, or right placement.
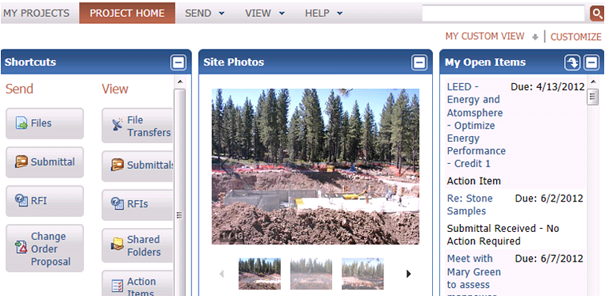
6. For example,
selecting the middle placement puts the image gallery in the middle of
the existing widgets of the default Simple
View. Click Save when done.

7. The image
gallery appears on your Project Home
page.
Key features
● Assemble and manage your project’s key deliverables into a virtual folder of files from anywhere within the project information.
● Create record copies of document sets for milestone or other purposes.
● Compare documents sets with other documents sets, project folders, or record copies.
● Distribute specific sets of files to external project team members as a transmittal via Info Exchange or through a shared folder.
● Create an image gallery document set to share photos on the Info Exchange website.
Table of Contents
Index
Search (English only)
Back