


Markup Quick Reference Guide
This topic provides a reference for the Newforma Viewer markup tools.
Click here to download a PDF of the reference guide.
Purpose
Use the Newforma markup tools to review, mark up and comment on project drawings and documents just as you do in a physical redlining process. You can quickly create multiple markups for any file you can open with the Newforma Viewer, link them to action items, and stamp them as part of a design or review process.
Audience
All users of Newforma Project Center.
Tasks covered
● Find your saved markup sessions
● Create a PDF from your markups
To create a markup
1. Open
a file in the Newforma Viewer,
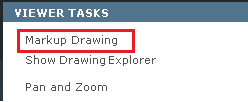
then click on Markup Drawing from the Tasks
panel to display the Markup Tools
panel.
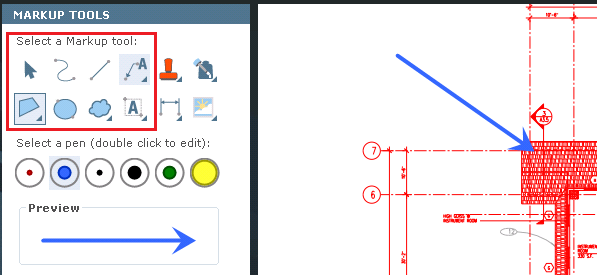
2. To draw
lines, leaders, shapes and add text click on the appropriate markup tool,
then select a pen and mark in the viewer window.
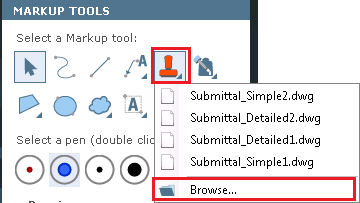
3. To add
an electronic stamp click on the Stamp tool and select Browse
to open the Select
DWG Stamp dialog box and browse to the location of your saved stamps.
You can also select from previously used stamps.
If it is the first time you are adding a stamp, the Select DWG Stamp dialog box opens when you click the Stamp tool button. Select a stamp file and click Open to continue.
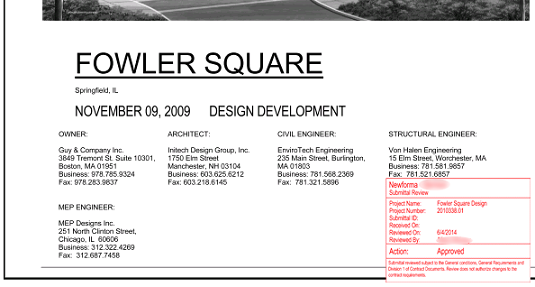
4. Fill in any editable properties in the Edit Stamp Contents dialog box and click OK.
5. Click
in the image to place the stamp on the document.
To save the markup session
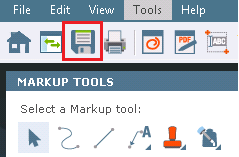
1. Click
on the Save button on the taskbar.
2. In the Save Markup Session As dialog box, enter a Name for the markup session and add any comments in the Remarks section. Click OK to save.
To find your saved markup sessions
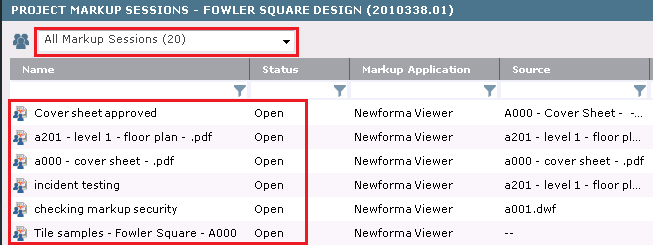
1. In the
Project Markup
Sessions activity center you can view all of the markup sessions created
for the active project.
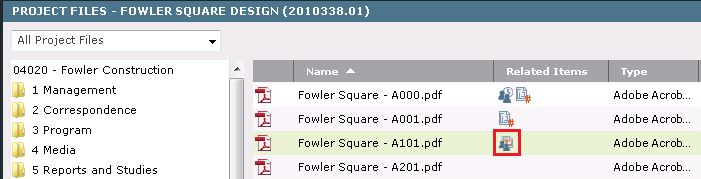
2. In the
Project Files activity
center you can identify files with markup sessions by looking at the
Related Items column.
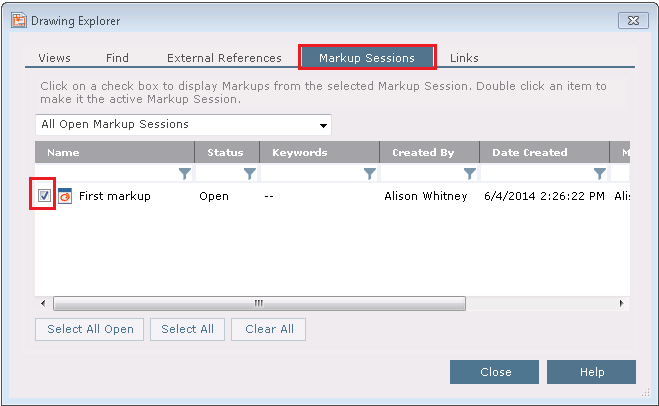
3. Open
the file in the Newforma Viewer
to view the markups and turn on or off selected markup sessions on the
Markup Sessions tab of the Drawing Explorer
dialog box.
To create a PDF from your markups
If you need a static copy of your markups and the underlying file, you can save or send the markup as a PDF.
1. Select
the PDF icon in the Newforma
Viewer toolbar to create a new PDF.

2. Make selections in the PDF Options panel as needed, then select Create PDF.
3. Select a save location, enter a File Name and click Save.
To edit a PDF
The Newforma Viewer offers basic PDF editing tools such as copy and paste text from a PDF and insert, delete and rearrange pages.
1. To copy
text from a PDF select the Copy and Paste
icon from the toolbar, then click and drag around the text you wish to
copy.
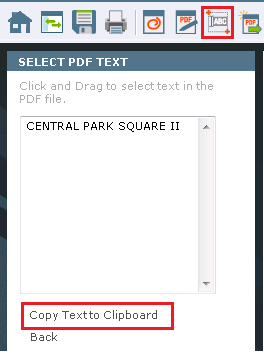
2. Click Copy Text to Clipboard to paste the text elsewhere.
3. Click
the PDF Page Editor icon on the
toolbar to insert, delete and rearrange pages in the PDF.

4. Click
Insert to add pages, Delete to remove selected pages, and
drag pages to change page positions.
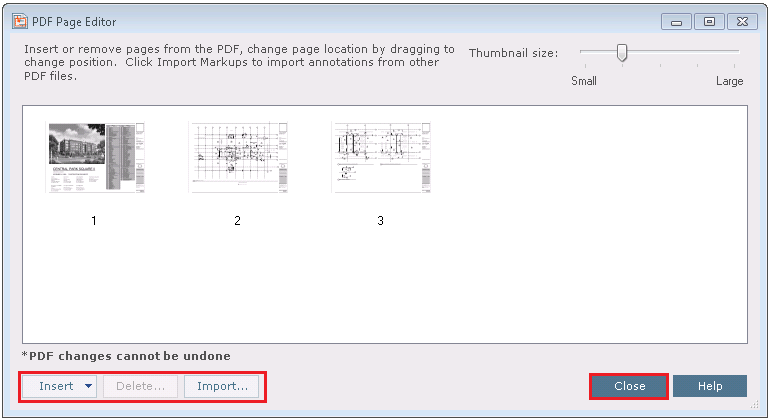
5. Click Close to save changes.
Key features
● Markup any supported file format in the Newforma Viewer without altering the original document.
● Save markup sessions as part of the project record.
● Link markups to other Newforma actions like action items, RFIs, and submittals.
● Electronically stamp documents.
Table of Contents
Index
Search (English only)
Back