


Document Control Quick Reference Guide
This topic provides a reference for the Project Center Document Control activity center.
Click here to download a PDF of the reference guide.
Purpose
Newforma Document Control simplifies the tasks of managing document revisions, assembling document packages for issuance, and maintaining the project document register. The record documents are then available in the Plans mobile app.
Audience
Those who manage the record documents and deliverables for projects.
Key Features
● Users can manage issuance and revisions of design, contract, and construction deliverables over the course of a project.
● A Document Register report displays the revision history for each project document, and Info Exchange provides easy access to the most recently issued version of each project document for remote Project Center users and external project team members.
● The Plans App allows user to view and markup issued record documents.
Tasks covered
● Add revisions to record documents
● Bulk update record document data in Excel
● Generate the Document Register report
● View record documents on Info Exchange
To add record documents
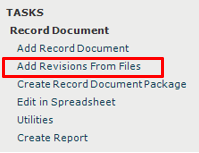
1. To add record documents and link them to the actual files in one step, click Add Revisions from Files from the Tasks panel in the Document Control activity center.
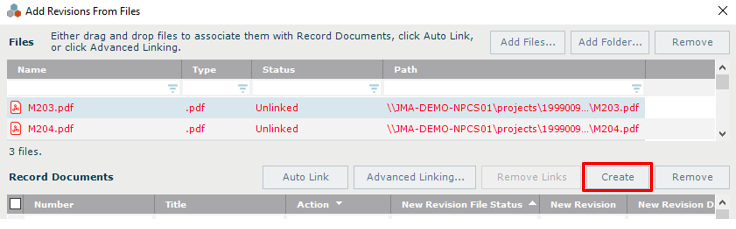
2. In the Add Revisions from Files dialog box, select Add Files or Add Folder to select the files you want to add, then browse to the select the files or folder of files.

3. The files you selected appear at the top of the dialog box under Files. Select (highlight) all the files you want to create record documents for, then click Create to create the record documents.
4. Record document properties can be updated before finalizing this procedure, including adding a Revision Prefix, Revision Suffix, Revision Description, or changing the Revision Date.
The Revision Date determines what is considered the latest revision of a document.
5. Click Add when done. The record documents appear in the Document Control activity center.
If you are currently tracking your list of record documents in Excel, you can use Newforma's import template to import the spreadsheet of record document information. Contact your administrator to use the import.
To create document packages
You can create document packages for organization and distribution purposes.
1. Highlight the All Packages option in the Document Control activity center Select View panel.
2. Select Create Record Document Package from the Tasks panel.
3. In the Create Record Document Package dialog box, enter a package name.
4. Click Add and then check the record documents to add to the package.
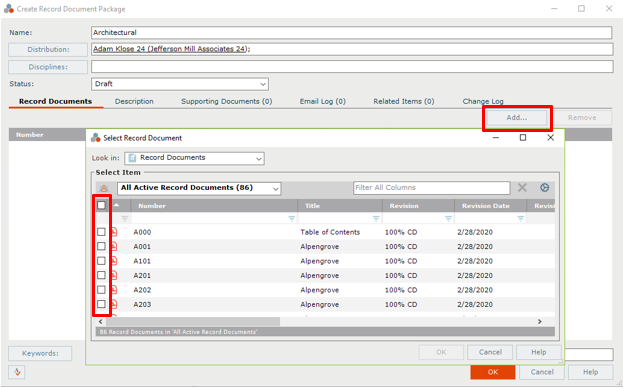
5. Click OK. Click OK again to create the package.
To issue record documents
You can issue or distribute record documents and track who received each revision and issuance.
1. Highlight the record documents you want to issue.
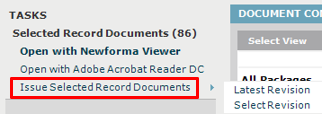
2. Select Issue Selected Record Documents from the Tasks panel. To issue the latest revision, click Latest Revision. To issue a previous revision, click Select Revision.
3. In the Issue Record Documents dialog box indicate who you are issuing To and add a Subject. Select the send method in the Send Via field and fill in and any other information as desired. Click Create and Transfer when done.
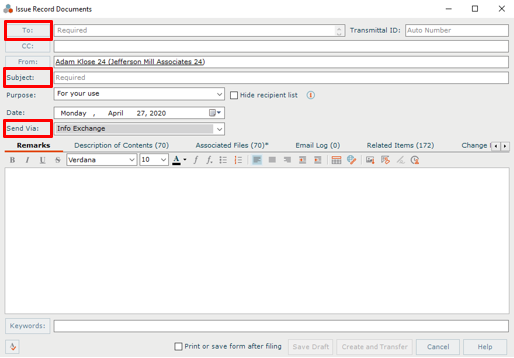
4. If Info Exchange was selected as the Send Via method, select the appropriate visibility, expiration and notification options in the Transfer to Info Exchange Options dialog box.
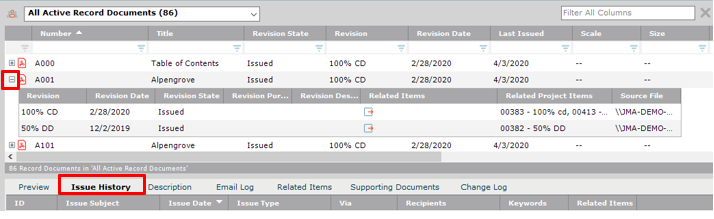
5. Track the issue history from the Issue History tab. Expand each record document to view the revision history.
Only the latest revision of the record documents will be available through the mobile Plans app. External users only see issued plans through the app.
To issue document packages
You can issue or distribute document packages and track who received each revision and issuance.
1. Highlight the document package you want to issue.
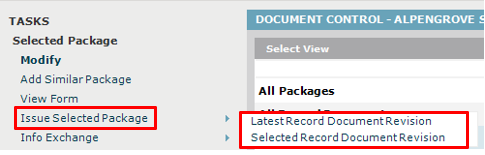
2. Select Issue Selected Package from the Tasks panel. To issue the latest revision, click Latest Record Document Revision. To issue a previous revision, click Selected Record Document Revision.
To add revisions to record documents
1. To add revisions to record documents, select All Record Documents in the Select View panel, then click Add Revisions from Files from the Tasks panel.
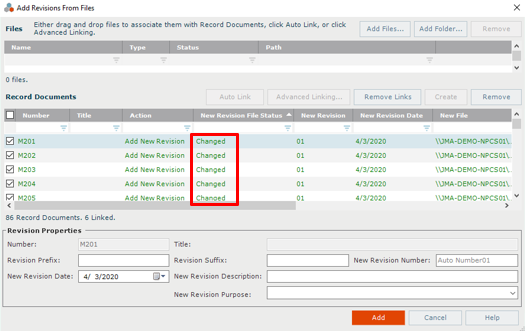
2. In the Add Revisions from Files dialog box, click Add Files or Add Folder to browse and select the files you want to add as revisions.
3. Newforma automatically links the new revision with the record document based on similar file names. The New Revision File Status column in the Record Documents section of the dialog box shows Changed. If a file is not automatically linked, you can drag and drop it onto the corresponding record document.
For more linking options, select Advanced Linking.
4. Click Add when done.
5. Anytime you want to update record documents with new revisions, use the Add Revisions from Files task again.
To mass update record document data in Excel
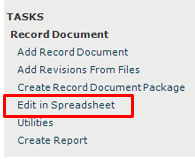
If you want to make changes to data in existing record documents, you can use the Edit in Spreadsheet task to export data, modify it in Excel, and then re-import changes back into Newforma record documents.
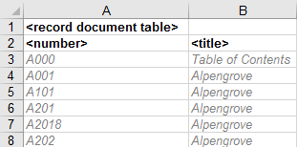
1. From the Tasks panel, select Edit in Spreadsheet and indicate where you want to save the exported data.
2. While the data is open in Excel, make any desired changes using Excel features such as copy and paste.
3. When done, save and close the spreadsheet. A message appears asking if you want to reimport your changes into Newforma. Click OK to import your changes or Cancel to re-import later.

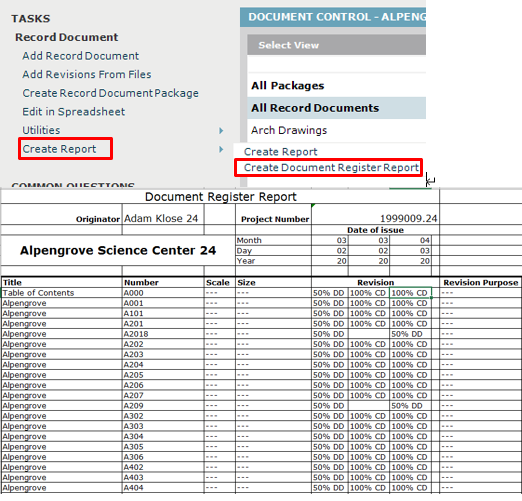
To generate the Document Register report
The Document Register report helps you understand which files and revisions were issued to whom, when, by what method, and for what purpose.
1. Filter and select the record documents as needed and then select Create a Report > Create Document Register Report from the Tasks panel. Select the report options and click OK to run.
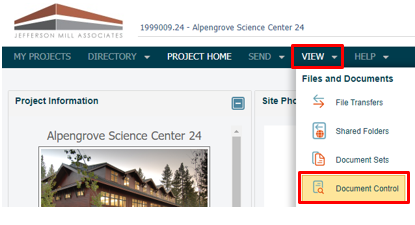
To view record documents on Info Exchange
Internal project team members can access record documents from the Info Exchange website. External project team members can only access record documents if their permission set gives them access to record documents.
1. Log into the Info Exchange website and select the project, then click the View > Files and Documents > Record Documents.
2. The Record Documents log shows each record document along with the latest revision number, revision date, revision state, and a link to the file.
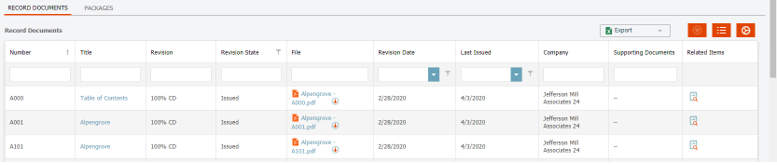
3. Click on the Title to launch the Record Document page and view the Revision History tab and other information.
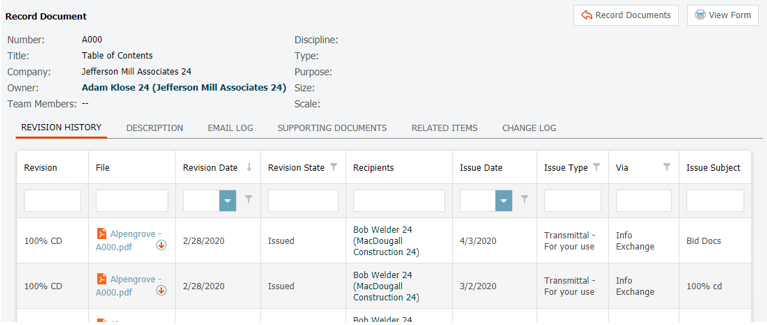
4. If the file type is PDF or image, you can click the file name to open it in the Newforma Web Viewer where you can use tools to pan, zoom, view, stamp, markup, save a markup session (which will save as a markup session in Newforma), and/or create a PDF.

The Plans mobile app for the iPad
The Plans App gives you access to your record documents anytime or place you need them. You can view, markup, pin and create action items, field notes and punch list items.
Use your Newforma ID account to log into the Plans App.
Table of Contents
Index
Search (English only)
Back