


Newforma Info Exchange Quick Start Guide for External Users
Klicken Sie hier, um die Benutzerhandbuch auf Deutsch zu sehen.
Overview
Info Exchange is a project website that facilitates the transfer of files without the limitations of email or FTP. All activity on Info Exchange is fully tracked so you will know when someone has downloaded the files you sent.
Click here to download a PDF of the reference guide.
This guide covers the following topics:
● Log into Info Exchange after receiving an invitation
● Send files from Info Exchange
● Send an RFI, submittal, or change order proposal via Info Exchange
● Respond to a forwarded submittal
● View and update action items
● Use the Newforma Web Viewer to mark up or stamp files
● Download files from shared folders on Info Exchange
● Upload files to shared folders
Using Info Exchange
To log into Info Exchange after receiving an invitation
You will receive an email inviting you to use a particular company's Info Exchange project website. The email includes a link to the Info Exchange website. The first time you access the secure website, you are prompted to set your password and accept the terms and conditions.
The link included in the invitation email can only be used once.
To receive a file transfer
Once you complete your initial login, you are ready to receive files.
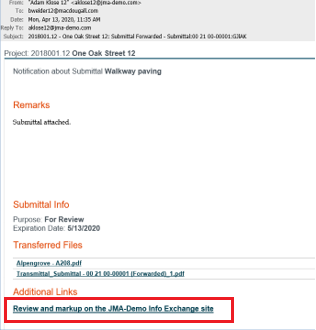
1. You receive an email notifying you when someone
has posted a file transfer for you. The notification email includes two
links with options for accessing the files. Click the first link to download
and save the files; click the second link to log
into the Info Exchange website and download the files.
![]()
2. When you click the link to login to Info Exchange,
you are prompted to enter your username and password. Enter your information
and click Sign
In.
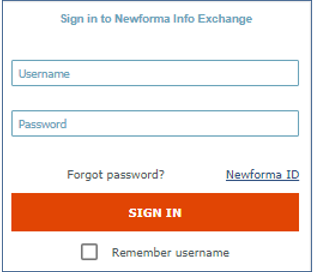
Use the credentials you used during your initial login. If you forget the credentials, use your email address as your user name and click Forgot Password? to receive password reset instructions.
3. On login, Info Exchange opens the Transfer
page for the file transfer, shown below.
![]()
4. Click Download All Contents to download all the files in the transfer. You can also download specific files by marking the checkbox next to the files and clicking Download Selected Contents.
Download Selected Contents is only available if the original file transfer was set to allow partial downloads.
5. Once you click one of the download command buttons, you will be prompted to either open the files or save them. Click Save to save them to your local machine or to the network. After the download completes, you can open the files.
To send files from Info Exchange
You can use Info Exchange to securely send file transfers of all sizes to project team members and track when the files were received.
Note that there is a default size limit for Info Exchange transfers. If needed, this limit can be adjusted by administrators and/or IT.
1. Log into Info Exchange and select the appropriate project.
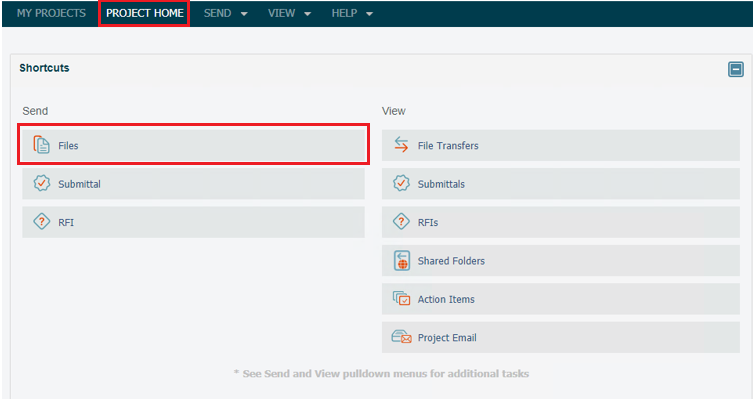
2. Click
Send > Files in the menu
bar from the Project Home
page:
3. Fill
in the transmittal information, including selecting recipients for the
file transfer from the project
team members list:
![]()
4. Click Add Files to add files to the transfer.
Depending on your browser, you may also be able to drag and drop files to a shared folder to upload them. Please see Drag and Drop Files in a Transfer for more information.
If you are sending a drawing file that contains external references, you must include the externally referenced files along with the original drawing.
5. Click Send Files to send the file transfer via Info Exchange.
6. To track
your file transfers, select View >
Files and Documents > File Transfers from the menu bar to open
the File
Transfers log, shown below:
![]()
7. Click
the Subject of the transfer to
open the Transfer
page, shown below:
![]()
8. Click the Change Log tab to view the history of actions related to the transfer.
To send an RFI, submittal, or change order proposal via Info Exchange
In addition to file transfers, external users can also send RFIs, submittals and change order proposals via Info Exchange. The workflow is very similar for each, so only the submittal workflow is shown in this guide.
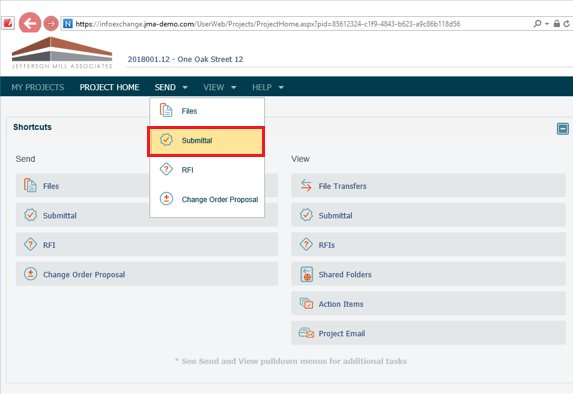
1. Log into
Info Exchange and select a project. On the Project
Home page, click Send>Submittal
from the menu bar.
2. On the
Send
Submittal page, complete the submittal form. This includes the spec
section, which can be selected from the dropdown list. Add the files you
would like to send with the submittal.
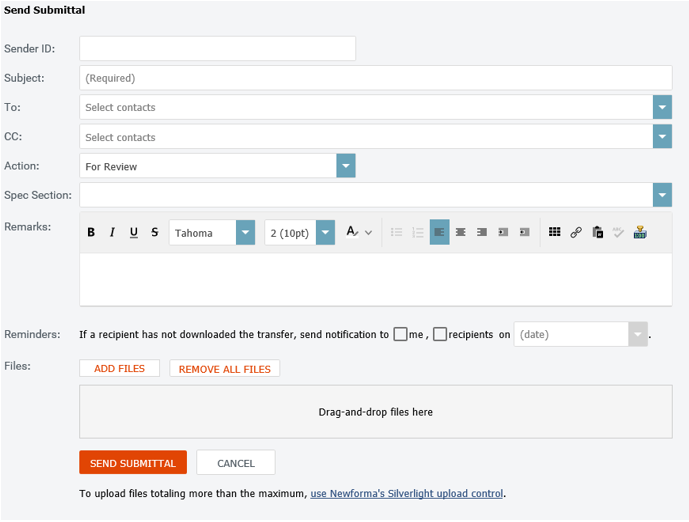
3. Click Send Submittal.
To respond to a forwarded submittal
When you receive a request to review a submittal via Info Exchange, you can easily respond through the same interface.
1. You will
receive an email notification of a request for review. Follow the link
at the bottom of the email to log into Info Exchange.
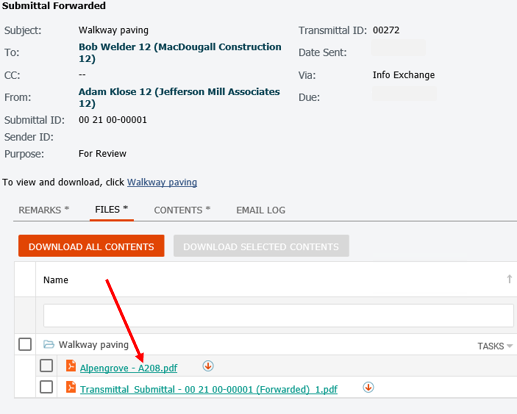
2. Log into
the site. You are directed to the Submittal
Forwarded page. Click on the Files
tab, then click Download All Contents
to download the contents of the submittal. you may also choose Markup
and Respond if you would like to use the Newforma web viewer to
provide your markups
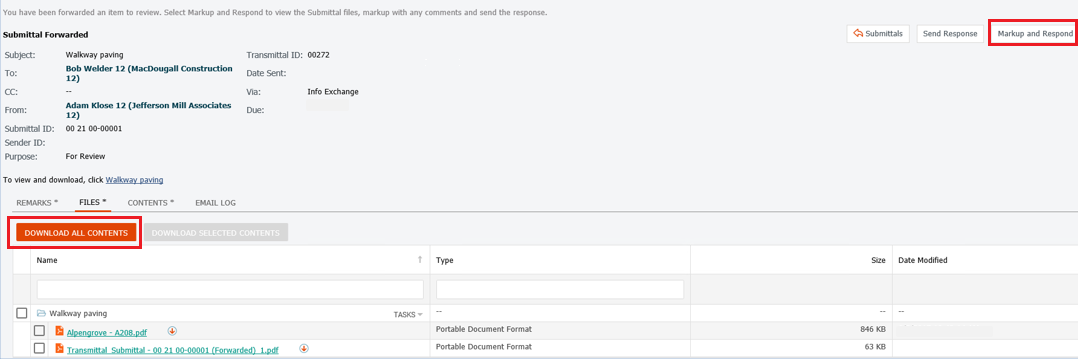
3. Click
Send Response to respond to the
submittal.

4. Complete
the Send
Submittal Response page and click Send
Response.

5. You can
track all your submittal activity in the corresponding log on Info Exchange.
Click View > Contract Management >
Submittals. Note that other activity center logs may be accessed
this way:

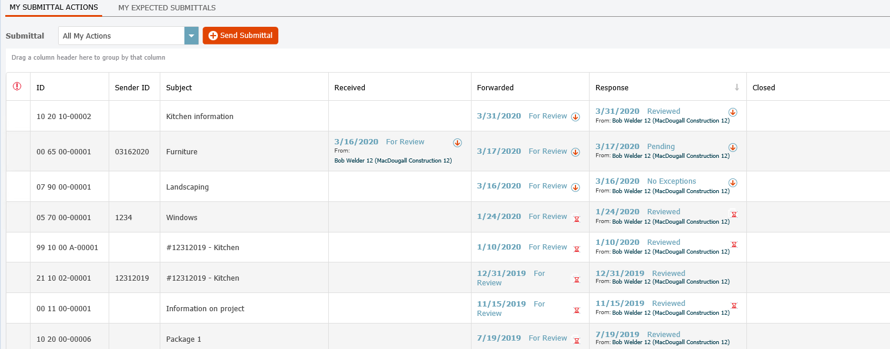
6. The submittal
log displays like this:
To view and update action items
Action items can be used to track project to-do items. For example, a project manager or other person can assign you a list of things you need to do, perhaps with due dates. If you have access to action items, you can view them and possibly update them from Info Exchange.
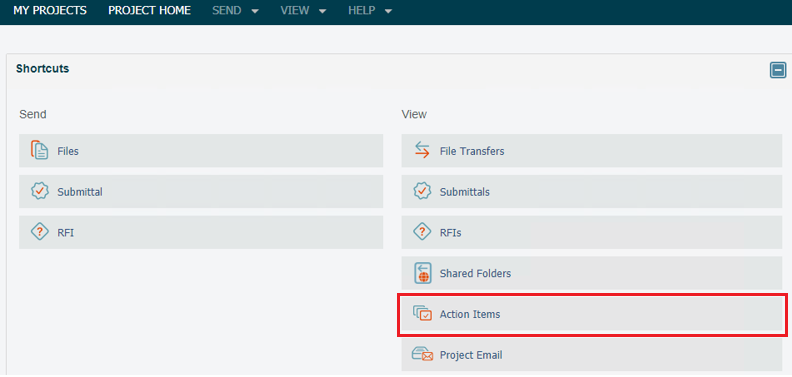
1. If you
receive an email notification that you have been assigned an action item,
you can follow the link in the email to log into the site and view or
update the action item. You can alos log into the site and click View > Action Items from the
menu bar or use the shortcut from the Project
Home:
2. Click
the action item Subject in the
Action
Items log to view it.

3. View
the main information and see additional information on the Description,
Discussion, Email
Log, Supporting Documents,
Related Items and Change
Log tabs on the Action
Item page.

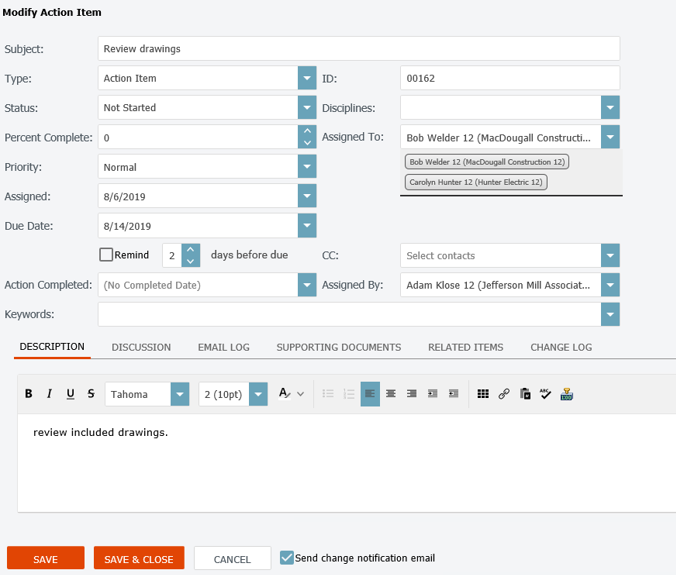
4. You may
have been given rights to edit action items. To update an action item,
click Modify to open the Modify
Action Item page. For example, you can change the status or add notes
in the Description field regarding
progress on the item. Click Save and
Close when done.
To create action items
1. Based
on your permissions, you may have the ability to add new action items.
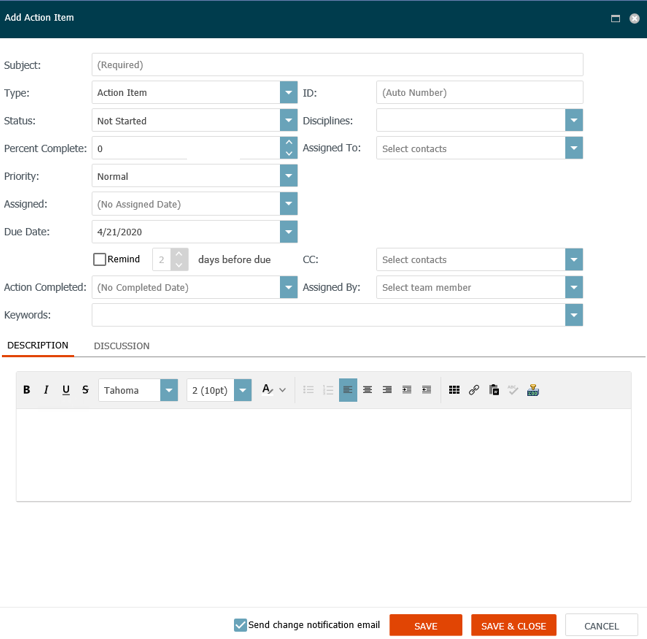
Click Add Action Item in the Action Items log.

2. Fill
out the fields on the Add
Action Item dialog box as desired, including Subject,
Status, Priority,
Due Date,and Description.
You can assign it to a team member using the Assigned
To dropdown if desired. If you assign the action item to a team
member, leave the Send Change Notification
Email checkbox selected. Click Save
and Close when done.
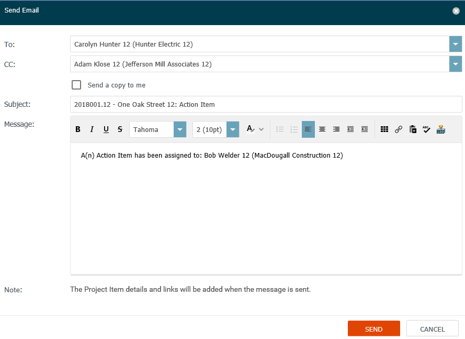
3. If you
selected Send Change Notification Email,
the Send
Email dialog box appears. Add recipients and make other changes as
needed. Click Send when ready.
People in the To: and CC:
fields receive an email notification of the action item.
To use the Newforma Web Viewer to mark up or stamp files
You can use the Newforma Web Viewer to view, stamp, and markup most image files, including PDFs. You can pan and zoom in a file, use search to locate text, navigate pages in a multipage file, insert an image or stamp, export to PDF, or create a new markup session.
1. Locate
the file and click on the file name to open it in the Newforma
Web Viewer.
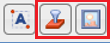
2. Place
the cursor over any of the buttons in the toolbar for a tool tip to help
you select the tool you need.

3. To zoom
into a particular area of the file, click Zoom
Rectangle on the toolbar. Click and drag a rectangular area to
zoom into.
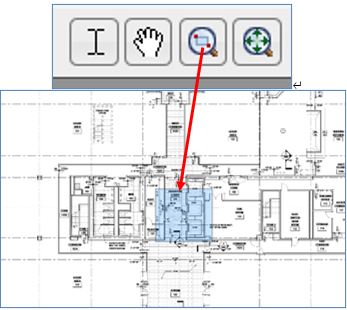
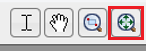
4. To zoom
back out, click Zoom to Full Page.
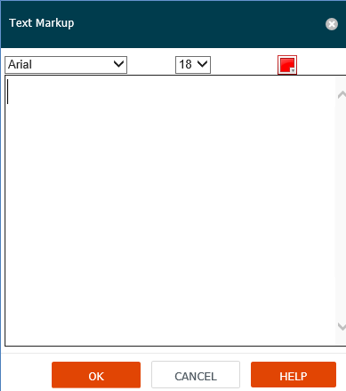
5. To add
text in the markup, click Text
on the toolbar. Click where you want to locate the text box. Enter your
text and click OK.

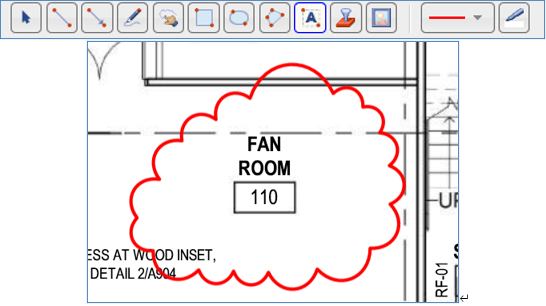
6. Use other
buttons on the toolbar to add clouds, lines, and more. Use Select
to select markups and move them. To delete a markup, select the markup
and press Delete on your keyboard.
7. You can
insert images and stamps as part of your markup. Adding a stamp is similar
to adding an image, but the stamp must be prepared before you can add
it to your markup. The Newforma Web Viewer supports adding stamps created
in Microsoft Word.
Refer to the online help topic Add a New Stamp for more details on how to create a stamp.
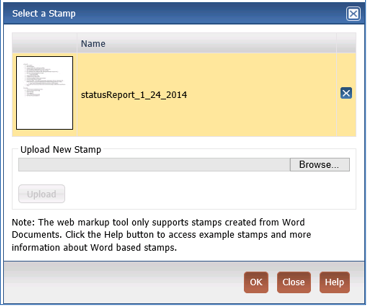
8. Stamps: After clicking Insert
Stamp in the toolbar, the Select
a Stamp dialog box appears. If this is the first time the stamp is
being used, you need to click Browse
to locate the stamp, then click Upload.
After the stamp is uploaded, it appears at the top of the list of stamps
in the Select a Stamp dialog box.
It is also available for use by others in your company. Select the stamp
Name from the list and click OK.
9. Fill out any additional information needed in the Edit Stamp Contents dialog box, then click OK. The stamp is placed in the markup. Reposition the stamp as needed.
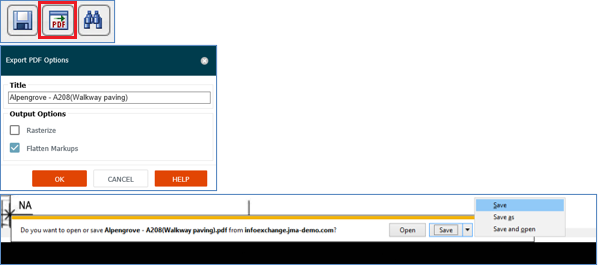
10. To create
a PDF, click PDF on the toolbar.
In the Export
PDF Options dialog box, enter a name, select your output options and
click OK. Use the Windows bar
at the bottom of the screen to open or save the PDF in the location of
your choice.
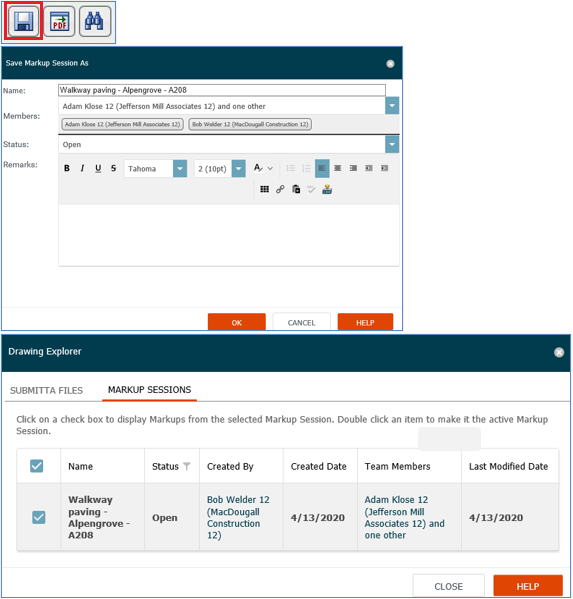
11. To save
your markup session for later editing or viewing by you and others, click
Save on the toolbar. In the Save
Markup Session As dialog box, enter a name for the markup session.
Optionally, you can add additional members from the project team, change
the status and add remarks. Click OK
when done. The Drawing
Explorer dialog box opens to show the markup session. Click Close when done.
12. Click Close in the upper right hand corner to close the viewer.
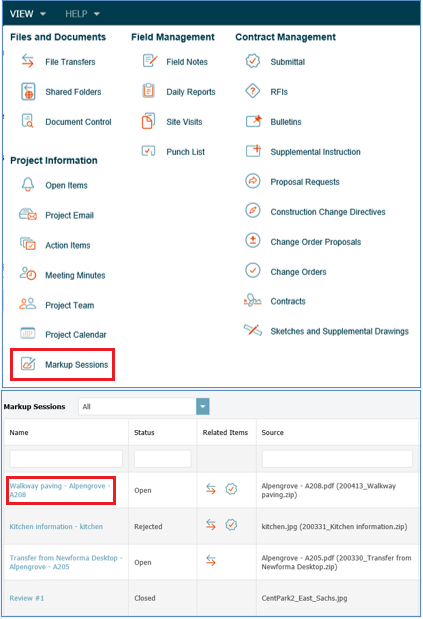
13. To reopen
the markup session, click View > Project
Information > Markup Sessions. Click the Name
of the markup session you want to open in the Markup
Sessions log.
To download files from shared folders on Info Exchange
Info Exchange allows you and other project members to share information securely through dynamic folders that are synchronized with the website.
1. You may
receive a notification email when there is something new in a shared folder.
Follow the link in the email to log into the site and download the files,
or log into the site and select View
> Files and Documents > Shared Folders.
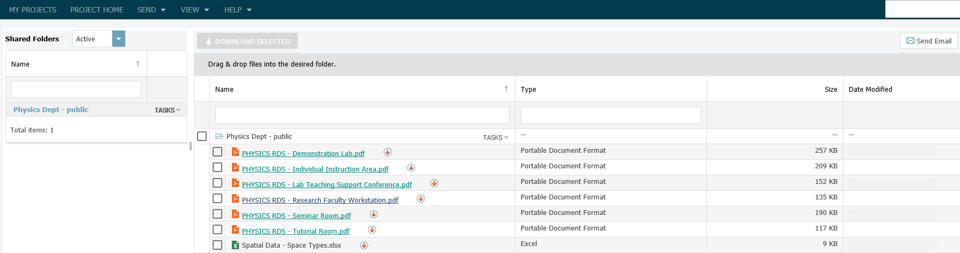
2. In the
Shared
Folders log, click the name of a shared folder to view its contents
in the Folder Contents panel,
shown below:
3. Click the Tasks dropdown for the shared folder and select Download Folder to download all files in the folder. You can also download specific files and subfolders by marking the checkbox next to the them and clicking Download Selected.
To upload files to shared folders
You may also have rights to upload new information to the shared folders through the website.
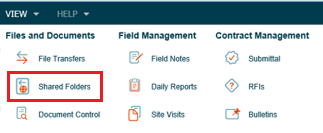
1. After logging in, go to View > Files and Documents > Shared Folders to open the Shared Folders log.
2. Click
the name of the shared folder where you want to upload files in the Folder Contents panel.
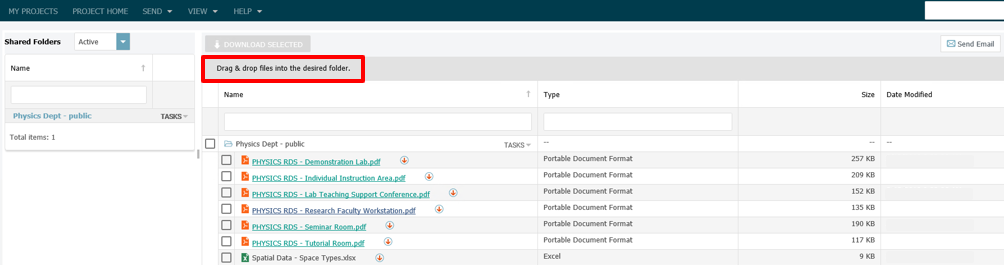
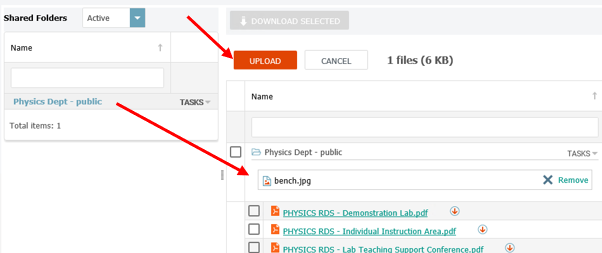
3. Drag
and drop files into the desired folder. There will be a preview of where
the files will go prior to choosing Upload.
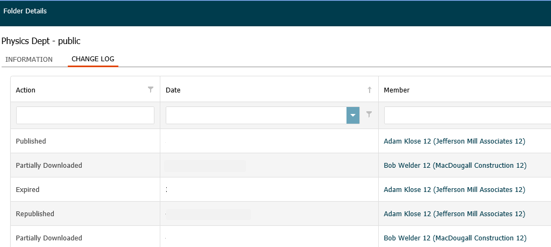
4. To track
your upload and which recipients downloaded the new files, select the
shared folder in the Folder Contents
panel, then select Folder Details
from the Tasks dropdown. Click
on the Change Log tab to view
the folder status.
To use Newforma ID
Newforma ID provides a single sign-on to all Newforma projects in which users have been invited to participate. Newforma ID is required to log into Newforma Mobile Apps and integrated cloud storage services, as well as projects managed via Newforma Info Exchange.
1. Go to
the Sign
in to Newforma Info Exchange page and click Newforma
ID to log in using Newforma ID or to create
your Newforma ID.
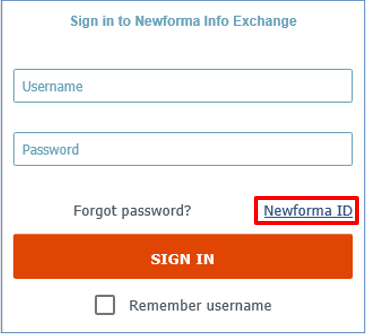
Table of Contents
Index
Search (English only)
Back