


Upload Files to a Shared Folder
Perform the following steps to upload files to a shared folder.
Depending on your browser, you may also be able to drag and drop files to a shared folder to upload them. Please see Drag and Drop Files to a Shared Folder for more information.
To upload files to a shared folder
1 If you are not already there, go to the Shared Folders log by selecting View > Files and Documents > Shared Folders from the menu bar.
2 Select
the name of a shared folder to view its contents in the Folder
Contents panel, shown below:
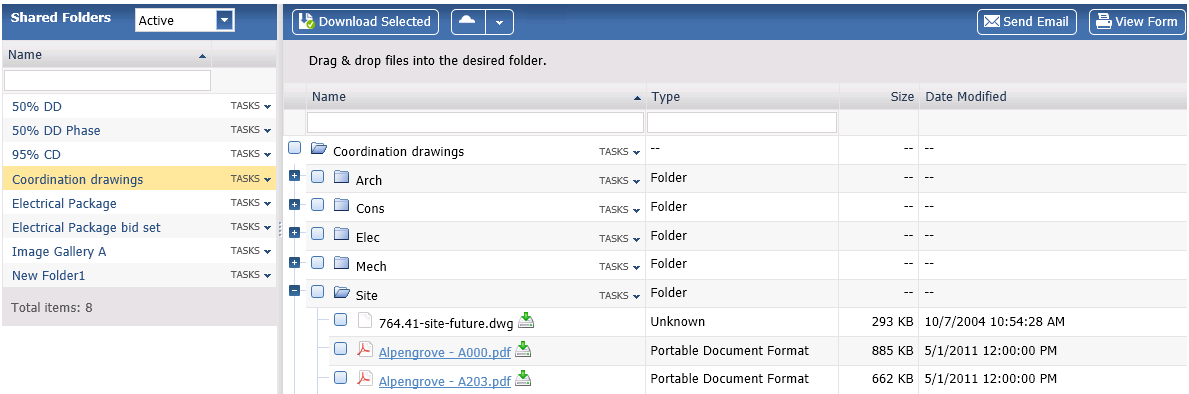
3 Select
the Tasks drop-down for the shared
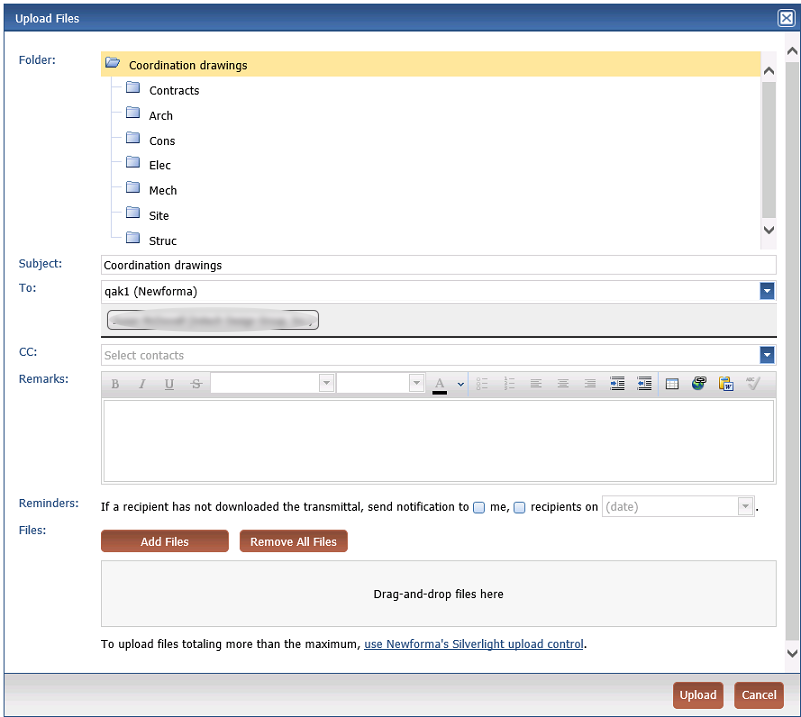
folder to which you want to upload files and select Upload
Files to open the Upload
Files dialog box, shown below:
Upload Files is only available if the option to allow Info Exchange users to upload files was selected when the shared folder was created.
4 The shared folder is selected by default. If you want to upload files to a subfolder, select it from the Folder tree.
5 By default, the Subject is the name of the shared folder. You can edit the subject as needed.
6 Select To and/or CC to open the Select Project Team Members as Recipients dialog box. Mark the checkboxes of the team members you want to send the upload to, then select OK.
7 Enter a detailed message in the Remarks field.
8 Choose a daily reminder option:
● Mark the checkbox Send notification to me to have Info Exchange send you a notification if the recipient has not downloaded the uploaded files.
● Mark the checkbox Send notification to recipients on to have Info Exchange send a notification to the recipients if the recipients have not downloaded the uploaded files by the date indicated.
Reminders to internal project team members are sent daily per project. Reminders to external project team members are sent once. For example, if an external project team member has not downloaded a file transfer, and reminders are set for that file transfer, the external project team member will get only one reminder, on the reminder date.
Safari users: By default, the Safari browser blocks the Calendar Control. To run this control, either select Edit and clear Block Pop-up Windows, or press Ctrl+Shift+K.
9 Select Add Files to add the files to upload.
If you are sending a drawing file that contains external references, you must include the externally referenced files along with the original drawing.
10 Select Upload to upload the files via Info Exchange.
A Project Center (internal) user must download the files to the shared folder from Project Center before they are visible in the folder.
Note that there is a default size limit for Info Exchange transfers. If needed, this limit can be adjusted by administrators and/or IT.
Table of Contents
Index
Search (English only)
Back