


Add a Record Document
Perform the following steps to add a record document to track a drawing and its revisions.
You must be a Document Controller to perform this task.
To file a record document from Project Center
1. If you are not already there, open the Document Control activity center by clicking Document Control from the Project Home activity center or from the Activities list.
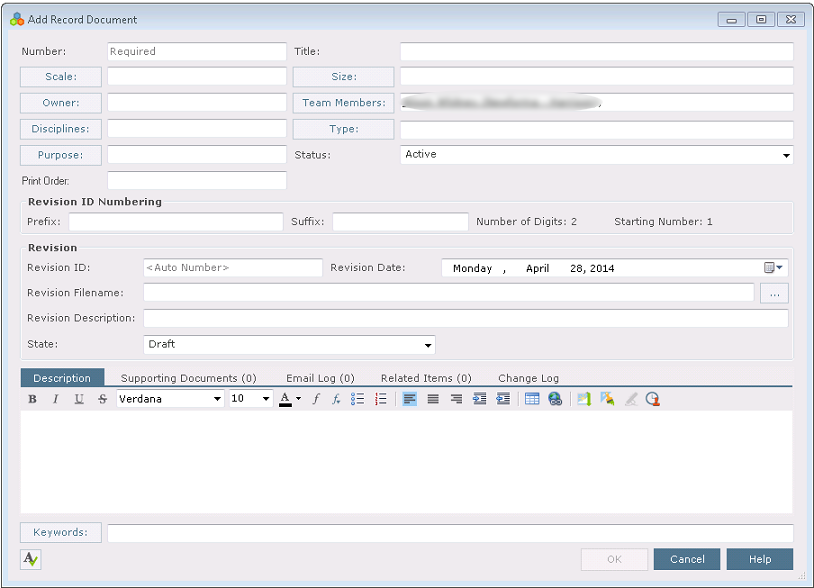
2. Click Add Record Document from the Tasks panel to open the Add Record Document dialog box, as shown here:
3. Enter a number for the record document in the Number field.
4. Enter a title in the Title field.
5. Click Scale to open the Choose Scale dialog box to select the scale of the drawing.
6. Click Size to open the Choose Size dialog box to select the drawing sheet's size.
7. Click Owner to open the Choose a Project Team Member dialog box to select the record document's owner.
8. Click Team Members to open the Choose a Project Team Member dialog box to choose the project team members involved with the record document.
9. Click Disciplines to open the Choose Disciplines dialog box to select a discipline.
10. Click Purpose to open the Choose Purpose dialog box to select the purpose of the record document.
11. Click Type to open the Choose Type dialog box to select types for the record document.
12. Enter a character to use as the prefix for numbering the record document's revisions in the Prefix field, such as P for Preliminary or C for Construction.
13. Enter a character to use as the suffix for numbering the record document's revisions in the Suffix field.
14. The Revision ID field indicates the numbering scheme. You can enter your own, or use the auto numbering scheme configured for the project.
15. Locate and select the revised file in the Revision Filename field by clicking the  button.
16. Enter a description of the file revision in the Revision Description field.
17. Select the state of the revision from the State field.
18. Add any additional information as needed in the Description, Supporting Documents, Email Log, and Related Items tabs. Refer to the Document Control activity center topic for information about these tabs.
19. Click OK. Project Center files the record document in the Document Control activity center.
Table of Contents
Index
Search (English only)
Back