


Print the Project Timeline
Perform the following steps to print the project timeline. You can print either the Calendar view or the Journal view. Bot procedures are explained below.
To print the Calendar view
1. If you are not already there, open the Project Timeline activity center (shown below) by clicking Project Timeline from the Project Home activity center or from the Activities list.
2. Select the Calendar view from the category drop-down list.
3. Click Print from the Tasks panel to open the Page Setup dialog box, as shown here: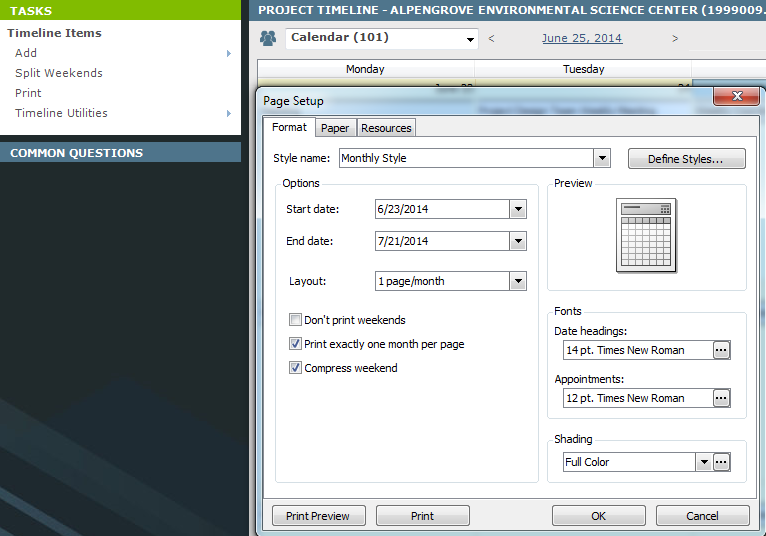
The Page Setup dialog box is from a third party vendor. It is not a Project Center dialog box, so there is no Help available for it.
4. Configure the printing options as desired, then click Print Preview to view what the output will look like.
5. If the preview contains the information you want to print, close it, then click Print.
6. Click OK when finished.
To print the Journal view
1. If you are not already there, open the Project Timeline activity center (shown below) by clicking Project Timeline from the Project Home activity center or from the Activities list.
2. Select the Journal view from the category drop-down list.
3. Click Export to Image from the Tasks panel to open the Choose a Date Range dialog box, as shown here: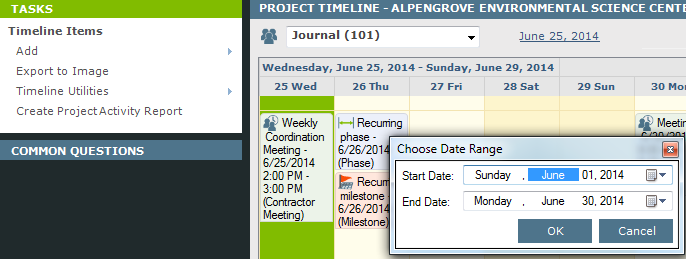
4. Configure the date range as desired, then click OK to open the Choose Timeline Export Path dialog box, as shown here: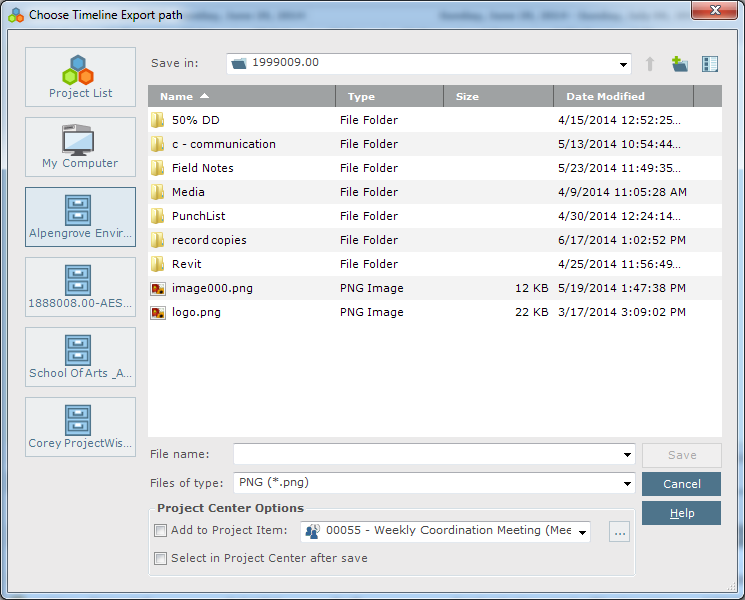
5. Enter a name for the export file in the File Name field, then choose the file type to save it as from the Files of Type drop-down list.
6. Click Save to save the file and open an image of the Journal view, which you can then print.
Table of Contents
Index
Search (English only)
Back