


Add Phases to the Project Timeline activity center
Perform the following steps to add a phase to the project timeline.
You must be a Project Center administrator to perform this procedure.
To add a phase to the project timeline from Project Center
1. If you are not already there, open the Project Timeline activity center (shown below) by clicking Project Timeline from the Project Home activity center or from the Activities list.
2. In either the Calendar or Journal view, click and drag to select the date range in which the phase occurred.
3. Click Add > Phase from the Tasks panel to open the Create Phase dialog box, as shown here. The dates you selected in step 2 are entered in the Start Date and End Date fields.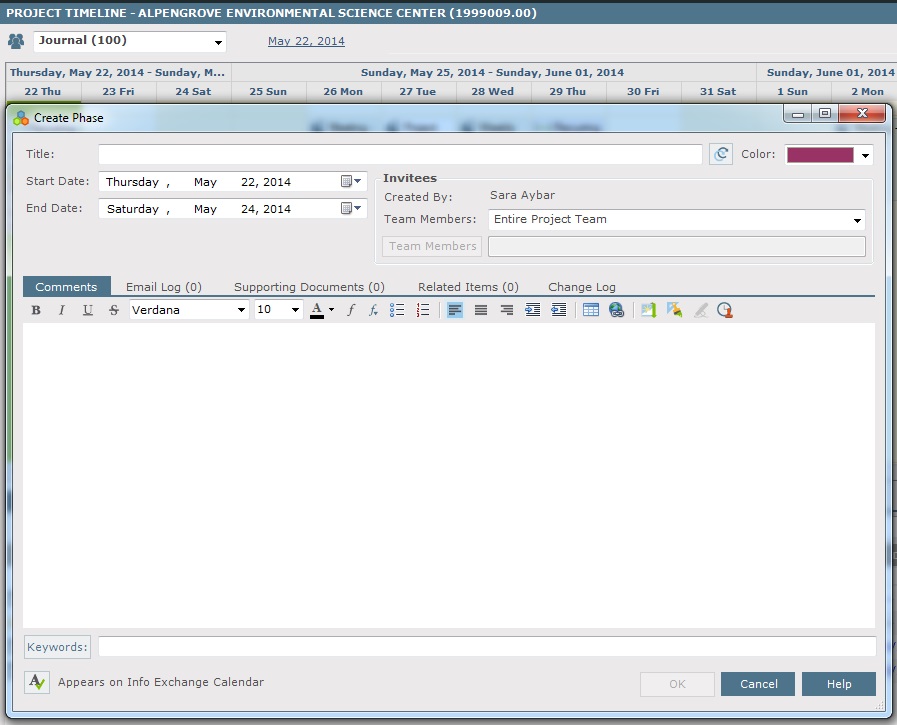
4. Enter the title of the phase in the Title field.
5. Select the color to represent the phase from the Color drop-down.
6. Select the project team members who were involved in this phase. You can select the Entire Project Team, the Internal Project Team, or individual team members by clicking Selected Team Members from the Team Members field.
7. Enter any comments in the Comments tab.
8. Add any related Project Center items in the Related Items tab.
9. To include any additional files that may be related to the phase, add them by clicking the Supporting Documents tab, then clicking Add Files > Another Project File. Navigate through the folders until you locate the file, then click Open. Repeat as necessary until you have added all the necessary files.
10. Enter any keywords in the Keywords field as necessary.
11. Click OK to add the phase to the project timeline. It is added to the dates you selected.
Table of Contents
Index
Search (English only)
Back