


Add a Punch List Item
This topic explains how to create a new punch list item in Project Center.
To create a new punch list item from Project Center
1. If you are not already there, open the Punch List activity center by clicking Punch List from the Activities list or the Project Home activity center.
2. From the Tasks panel, click Create a Punch List Item to open the Create a Punch List Item dialog box, as shown here: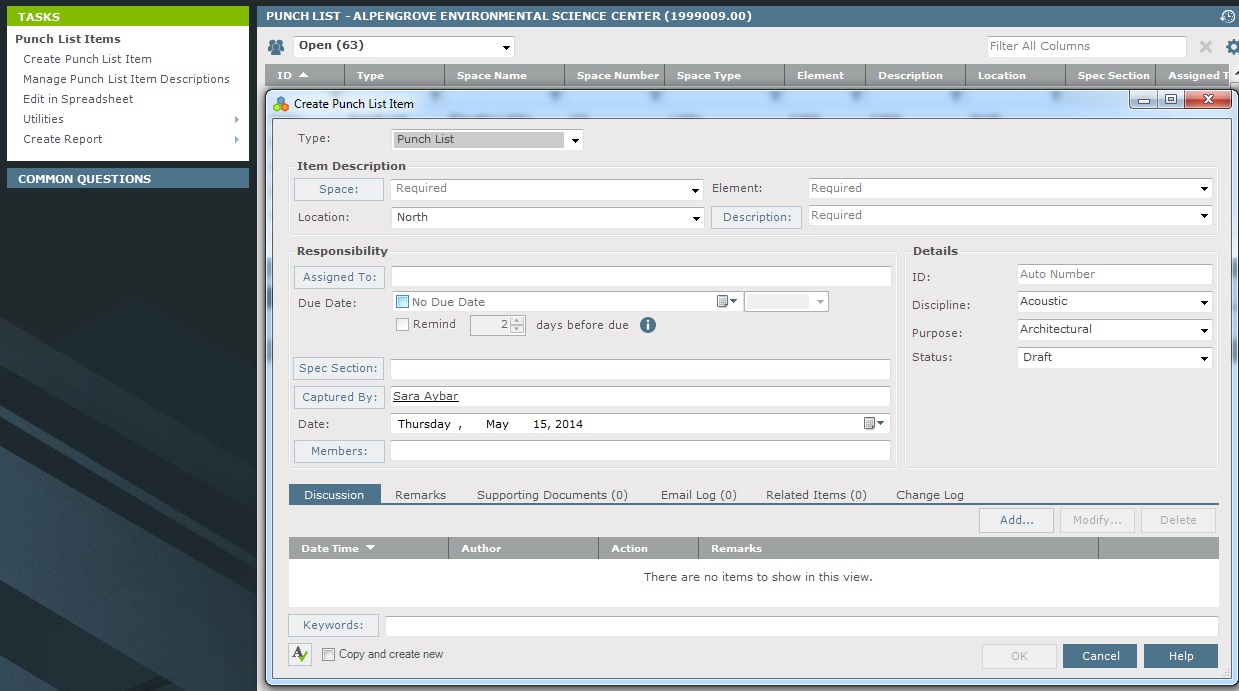
3. Select the item's type from the Type drop-down list.
4. Click Space to open the Choose Space dialog box to select the space the punch list applies to.
Spaces relisted in the Spatial Index activity center.
5. Select the item's Location, Element, Description, and Due Date as necessary. The ID is an automatically incremented number that is editable (it must remain unique).
To enter a due date, mark the checkbox in the Due Date field, then select a date.
6. If you want to assign the punch list, click Assigned To to open the Choose Project Team Members dialog box to assign the punch list to project team members (or type a contact's email address directly in the field).
7. To add a discussion item, click the Discussion tab and then click Add to open the Add Discussion Item dialog box.
8. Enter any comments about the punch list in the Remarks tab.
9. If you want to attach files to the punch list, click the Supporting Documents tab, then click Add to open the Add Supporting Documents dialog box to locate the files. Click Open to add the files.
10. Click OK when finished to create the punch list and add it to the Punch List activity center.
Table of Contents
Index
Search (English only)
Back