


Add a Revision to a Record Document
Perform the following steps to add a revision to a record document to track a drawing.
You must be a Document Controller to perform this task.
To add a revision to a record document
1. If you are not already there, open the Document Control activity center by clicking Document Control from the Project Home activity center or from the Activities list.
2. Select the record document you want to add a revision to from the list, then click Add Revision from the Tasks panel to open the Add Revision dialog box, as shown here:
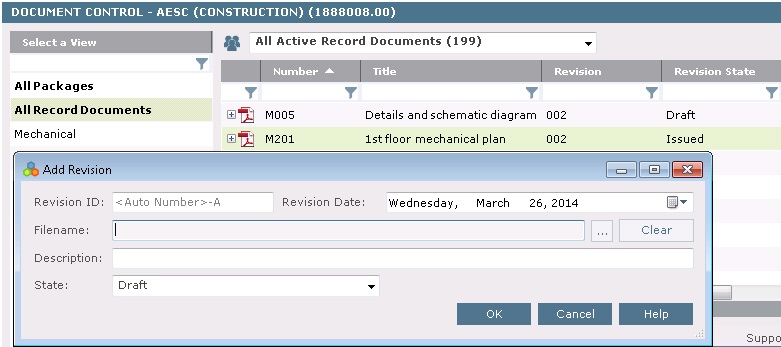
3. Enter a value in the Revision ID field if you want to use something other than the generated ID.
4. Locate and select the revised file in the Filename field by clicking the  button.
5. Enter a description of the revision in the Description field.
6. Select the revision's state in the State field.
7. Click OK. The revision information is added to the list of revisions for the record document.
Table of Contents
Index
Search (English only)
Back