


Customize Email Notification Subject Lines
Perform the following steps to customize the subject lines of email messages and notifications that are generated from Project Center.
You must be a Project Center administrator to perform this procedure.
To customize email notification subject lines
1. If you are not already there, open the Project Center Administration activity center by clicking Project Center Administration from the Tasks panel of the My Project Center activity center, or from the Activities list.
2. Click the Servers tab.
3. In the Servers section, select the Project Center Server for which you want to customize the subject line for email notifications.
The Type column lists the server types. Make sure the type is Project Center.
4. Click the Notifications/Forms tab in the bottom section, as shown below.
5. Select the field to insert in the subject from the drop-down list, then click Insert Field to add it to the subject line, as shown below. Repeat as necessary until all desired fields are added to the field. The formatting of the subject is shown in the field below the Insert Field button, as shown in the second screen below.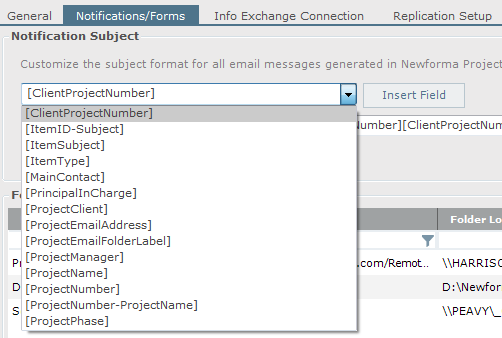
6. Cut and paste the fields to place them in the desired positions in the subject line.
7. Click View Sample to open the Select Project Item dialog box, select a project item, then click OK to view a sample of what the subject line will look like.
8. Make any other changes if necessary. Click Save Changes when finished.
Table of Contents
Index
Search (English only)
Back