


Enable Bluebeam Studio Prime Connector
The Bluebeam integration requires a new Newforma license key to enable the functionality. Without this updated license, the Bluebeam options will be disabled in Project Center. Contact the Services team at services@newforma.com for an updated license.
Bluebeam Studio Prime can be used during the submittal and RFI review processes directly from Project Center. Before users can access Bluebeam during the review process, however, the Bluebeam Studio Prime connector must be enabled by an administrator.
To allow users to take advantage of the connector:
● Enable the Newforma integration in Bluebeam Studio Prime Portal
● Enable the Bluebeam Studio Prime connector for the project
● Modify the user's profile to include the Bluebeam Studio Prime role
To enable the Newforma integration in Bluebeam Studio Prime Portal
Once your organization has an active subscription to Studio Prime and the Integration ID, an Admin of the Studio Prime space can enable the integration within the Studio Prime portal.
Important: Bluebeam Studio Prime must have access to the APIs for the communication between the two products to work.
1. Log into the Studio Prime Portal.
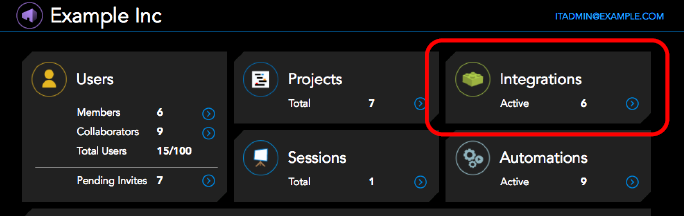
2. Click Integrations in the upper right corner of the window:
3. Click Add New.
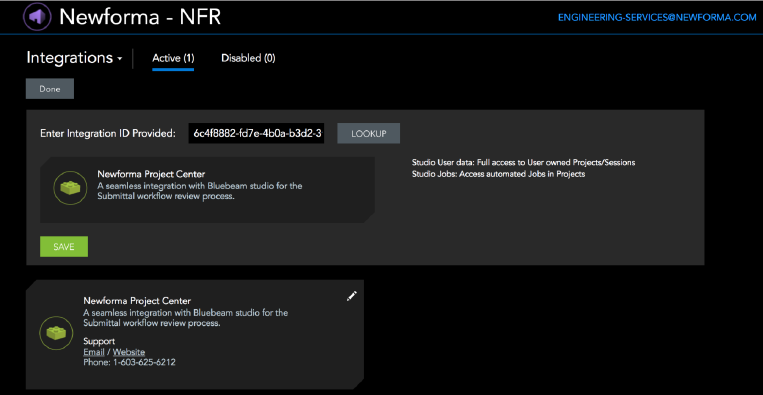
4. Paste the following Integration ID- 6c4f8882-fd7e-4b0a-b3d2-3fc50cf6028c - into the Enter Integration ID Provided field, then click Lookup:

5. Verify that the Newforma Project Center integration is selected. Click Save:
Now all members of the Studio Prime space may use the integration. For more information about onboarding members, see the Studio Prime Guide.
To enable the Blubeam Studio Prime connector for a project
1. Select the project on the Project Center Administration activity center Projects tab.
2. Click Edit Settings in the Tasks list. then select the Admin tab.
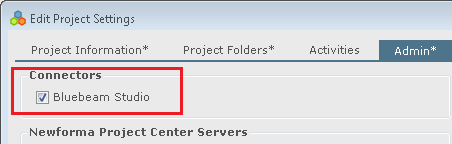
3. Select the Bluebeam Studio checkbox in the Connectors section, shown here:
To assign the Bluebeam Studio Prime role to a user
1. Go to the Project Center Administration activity center Licensing tab.
2. Select the desired user.
3. Select Modify User from the Tasks list.
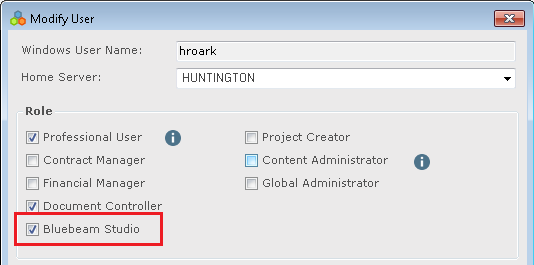
4. In the Modify User dialog box, select the Bluebeam Studio checkbox, as shown here:
5. Click OK to save your changes.
Table of Contents
Index
Search (English only)
Back