


File Multiple Files Received via Info Exchange as Contract Management Items
Use this procedure to download multiple files that were received in an Info Exchange file transfer and file them as contract management items. In this procedure, you will file the attachments one at a time as individual contract management items.
To file multiple contract management items received in an Info Exchange transfer
1. If you are not already there, open the Info Exchange activity center by clicking Info Exchange from the Project Home activity center or from the Activities list.
2. Select All Incoming from the drop-down list to list the pending incoming transfers that have not yet been received.
3. Select the Pending Incoming Transfer that you want to download.
4. Click Receive Pending File Transfer from the Tasks panel to open the Receive Pending Transfer dialog box, as shown here:
If the Automatically Download Incoming Transfers option is selected in the Info Exchange tab of the Edit Project Settings dialog box, the Acknowledge Receipt task appears instead of the Receive Pending File Transfer task. Click it to acknowledge the transfer.
If the file transfer was sent from an internal project team member via the web, a message appears asking if you want to record the transfer as an outgoing file transfer. Click No to be able to file an incoming transmittal for the transfer.
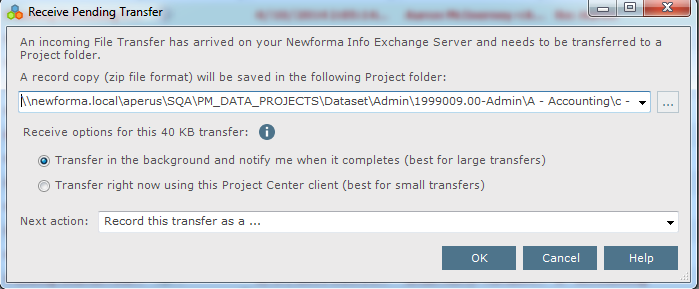
5. In the A Record Copy (ZIP File Format) Will be Saved in the Following Project Folder field, click  if you want to change the location where the record copy of the file transfer will be saved. (The default location is defined in the Edit Project Settings dialog box.)
6. Choose the Transfer Right Now Using this Project Center Client option.
7. Choose the Just Transfer the File Content option from the Next Action drop-down list and click OK to download the file transfer to the project.
If any internal project team members are subscribed to the contact who posted the files to Info Exchange, the Incoming File Transfer Notification dialog box opens so you can select the members to notify about this file transfer. Select the internal project team members that you want to send a notification to regarding this file transfer, then click OK. If you do not want to send a notification to anyone, click Skip Notification.
To subscribe to external team members and groups that you want to receive an email notification from when they transfer files, transmittals, RFIs, and contract management items to your Info Exchange Server, see the Subscribe to External Communication dialog box.
Once the file transfer is downloaded, it is listed as a Received Transfer in the All Incoming log of the Info Exchange activity center, and the record copy is saved to the designated folder.
8. Select the Received Transfer from the log and click its Transferred Files tab, as shown here:
9. Click Extract All to open the Select Destination Folder dialog box. Select the folder in which to extract and save the files, then click OK to open the Extract Info Exchange Transfer dialog box, as shown here:
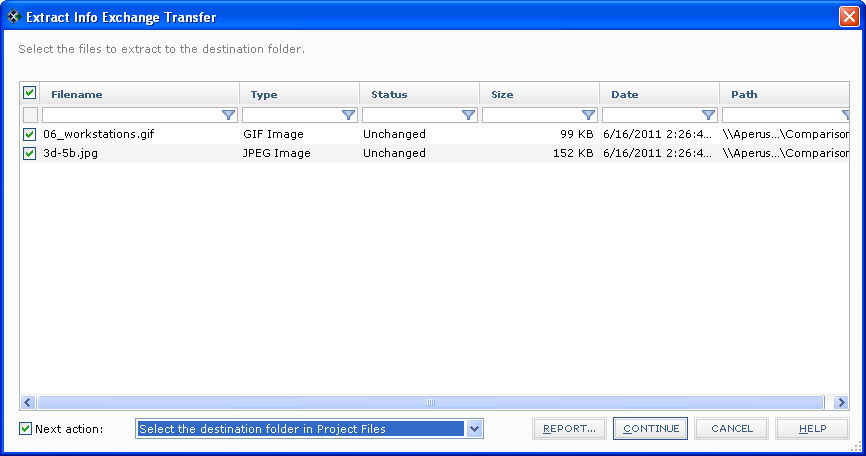
10. Make sure the files are selected, and that Select the Destination Folder in Project Files is selected in the Next Action field. Click Continue. When the extraction completes, the Project Files activity center opens to the folder in which you saved the files.
11. Select one of the files that you want to file as a contract management item, and click Log as from the File Tasks panel to open the Log as dialog box: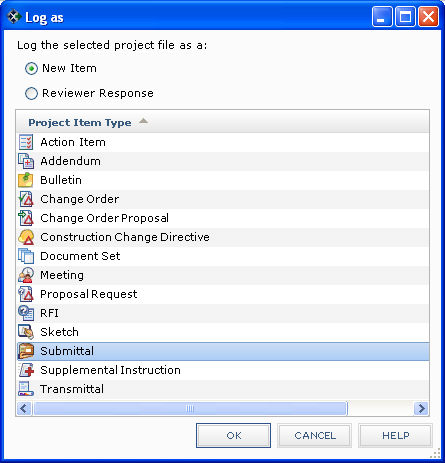
12. Choose the New Item option, and select the type of contract management item from the list, then click OK to open the Log a Contract Management Item dialog box. For this example, we will log the files as a submittal.
13. Choose the Log a Received Contract Management Item option and click OK to open the Log a Received Contract Management Item dialog box: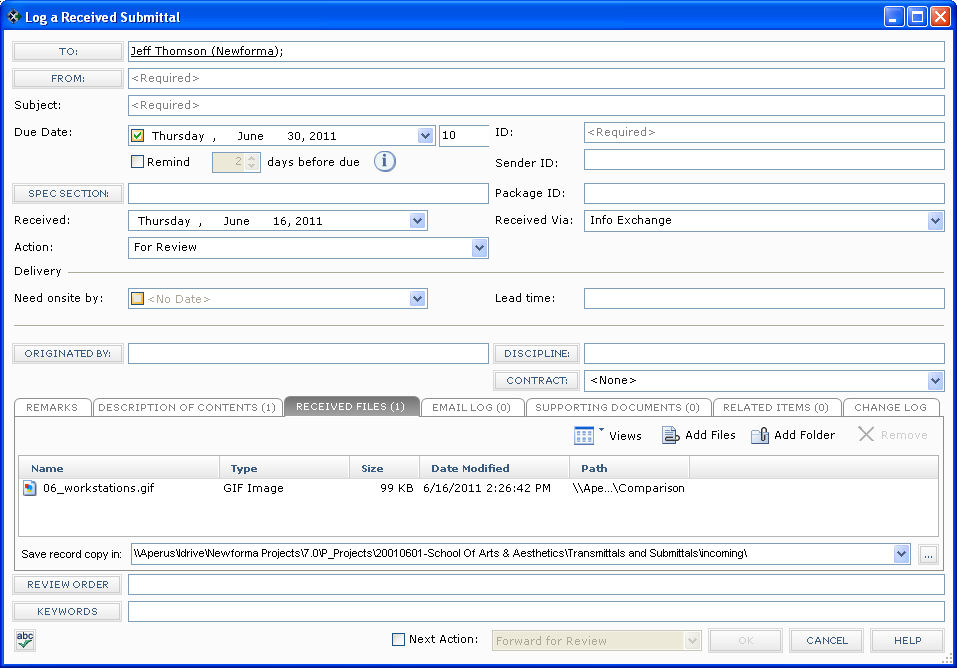
Project Center automatically adds the selected file to the Received Files tab.
14. Fill in the information as necessary and click OK to log the contract management item. Project Center files the contract management item in the Under Review category of the corresponding activity center.
15. Repeat the steps 11- 14 above for each additional file that you want to log as a contract management item.
Table of Contents
Index
Search (English only)
Back