Perform the following steps to log a new field note in Project Center.
1. If you are not already there, open the Field Notes activity center by clicking Field Notes from the Activities list or the Project Home activity center.
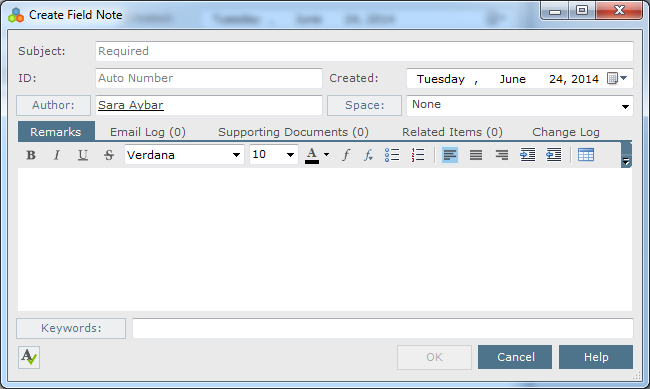
2. From
the Tasks panel, click Create
Field Note to open the Create
Field Note dialog box, as shown here:
3. Enter the subject of the field note in the Subject field.
4. Select the field note's creator by clicking Author.
5. If the field note is related to a space, click Space to open the Choose Space dialog box and select the space.
6. Enter the purpose of the field note and any other comments in the Remarks tab.
7. If you want to attach media or other files to the field note, click the Supporting Documents tab, then click Add Files > Another Project File to open the Add Supporting Documents dialog box to locate the files. Click Open to add the files.
8. The Email Log tab lists all email messages associated with the field note. When a user clicks File as or File in Project (then chooses the Field Notes option) from the legacy Project Center Add-in for Microsoft Outlook Toolbar, the email message appears here. You can also add email messages by clicking Add or dragging and dropping from Microsoft Outlook.
9. Click the Related Items tab to relate (link) this field note to another Project Center item.
10. Click OK when finished to create the field note and log it in the Field Notes activity center.