Perform the following steps to log a new potential change order (PCO) to track its status and history of actions, to set up and request pricing, and to close it. You can log a PCO from Project Center or Microsoft Outlook.
The workflow for this process consists of the following sections:
● To log general information for a PCO
● To enter the estimate in the Pricing tab
● To track related contract documents
● To enter a description, email messages, supporting documents, and related items
● To request PCO pricing quotes
● To record the returned proposed pricing quotes
● To approve line items and create subcontract change orders
● To use the Potential Change Orders activity center, users must have a Financial Manager role, which is set in the Modify User dialog box by an administrator. A user with this role can create/view/edit/delete PCOs.
● An administrator must select the Newforma Contract Management option in the in the Add-on Features section of the Project Center Administration Activity Center Licensing tab to activate PCOs.
1. If you are not already there, open the Potential Change Orders activity center from the Project Home activity center or from the Activities list.
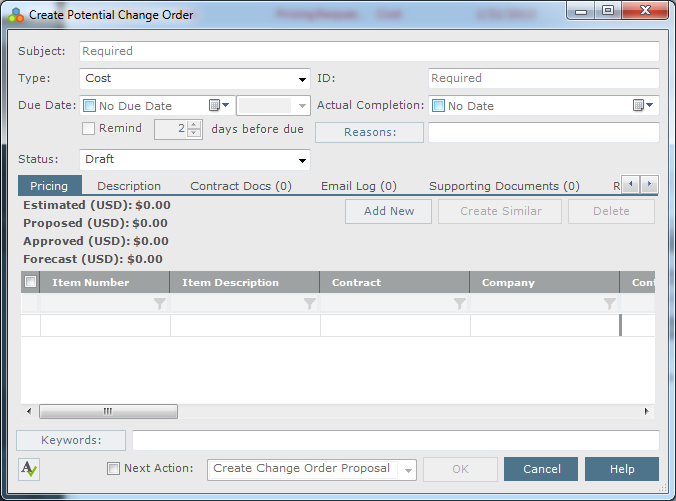
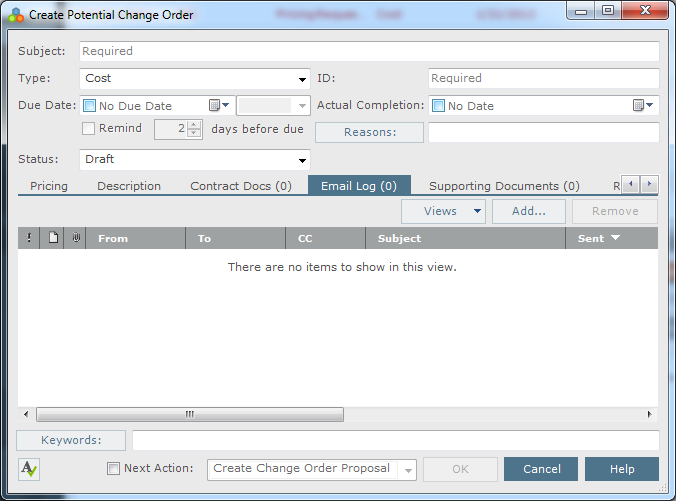
2. Click Create Potential Change Order from the Tasks panel to open the Create Potential Change Order dialog box, as shown here:
3. Enter a subject in the Subject field.
4. Click the Type drop-down to select the PCO's type: Cost or Budget. Budget PCOs are sent to the owner.
5. Select the reasons for on the PCO by clicking Reasons.
6. To enter the date the PCO paperwork was actually completed, mark the Actual Completion checkbox, then select a date.
7. Select the PCO's Status from the drop-down list:
● Draft - The default value when the PCO is logged.
● Pricing Requested - The status is open, when pricing is needed.
● Pricing Completed - Indicates pricing has been received from the subcontractors.
● Closed - Indicates pricing has been approved and change orders have been issued; changes the PCO to read-only.
● Void - Indicates the PCO was cancelled. The PCO is excluded from the PCO Scoreboard.
8. To enter the due date for the PCO paperwork, mark the Due Date checkbox, then select a date.
9. Continue with the next section to set up pricing.
1. Use the Pricing tab to enter and edit the pricing data for the PCO. Add a separate row for each major item that needs to be included in the PCO estimate, and link each item row to its related contract.
● Click Add New to add rows to the tab.
● To delete rows, mark the checkboxes of the rows you want to delete, then click Delete.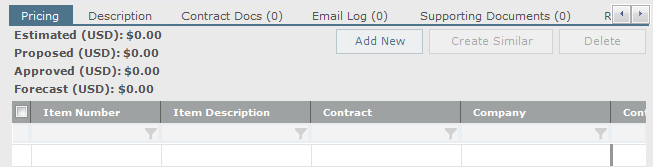
2. The Item # field is automatically generated, but you can edit it.
3. Enter a brief description of the item to be priced in the Item Description field.
4. Select the Contract the item is related to by clicking the  button to open the Choose Contract dialog box. The Company and Contact associated with this contract will be automatically filled in, but you can edit them.
5. Select the Cost Code to apply to the item by clicking the button to open the Select Schedule of Values Item dialog box (if there is an associated contract for the line item) or the Choose Cost Code dialog box (if there is no associated contract).
6. Enter the estimate of how much the item will cost in the Estimated Amount field.
7. Click OK when finished.
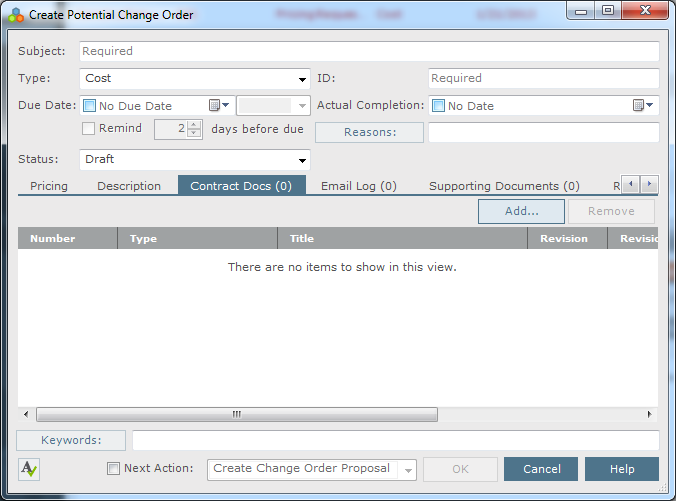
1. Use the Contract Docs tab to track record documents related to the PCO.
Refer to the Document Control (Record Documents) Overview and the Document Control activity center topics for more information and a description of the columns.
● Click Add to open the Choose Record Document Revision dialog box to locate and select a record document to include with the PCO.
● Click Remove to remove the selected record document from the PCO.
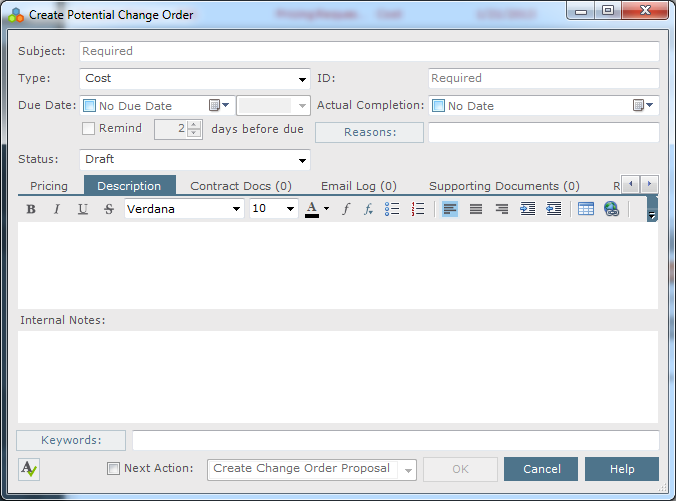
1. Use the Description tab to enter detailed information about the PCO. Enter any internal notes in the Internal Notes section.
Internal notes are not included in forms or on Info Exchange.
2. The Email Log tab lists all email messages associated with the PCO. When you click File as, then select a project, and then Potential Change Order from the File as dialog box, or click File in Project (then choose Potential Change Order) from Microsoft Outlook, the email message appears here. You can also add email messages by clicking Add from this tab, or by dragging and dropping from Microsoft Outlook.
3. To include any additional files that may be related to the PCO, add them by clicking the Supporting Documents tab, then clicking Add Files > Another Project File. Navigate through the folders until you locate the file, then click Open. Repeat as necessary until you have added all the necessary files.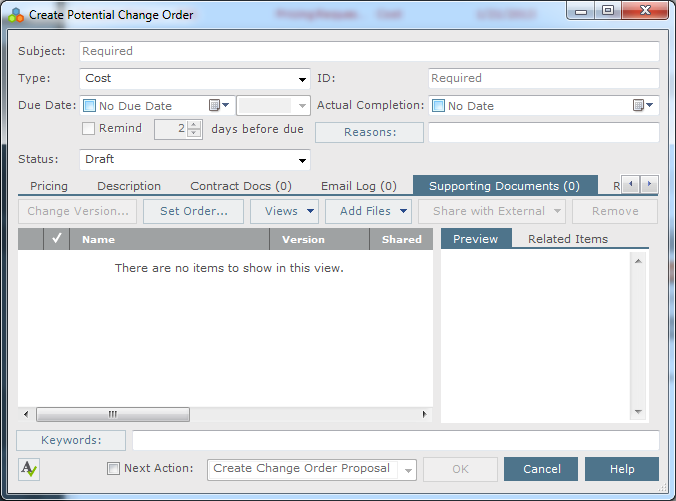
4. Click the Related Items tab to create a relationship between this PCO and other Project Center items.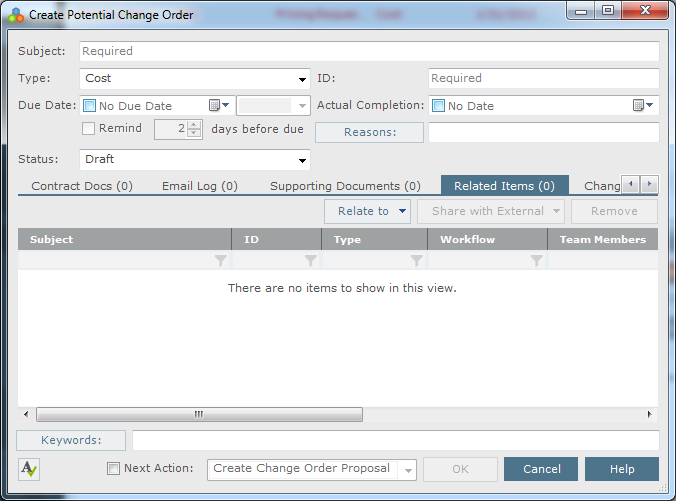
5. Click OK when finished.
Perform the following steps to enter and request pricing information for the PCO.
1. In the Pricing tab, enter the date of the pricing request in the Pricing Requested field, as shown here:
2. Select the date the pricing request is due back in the Pricing Due field. The default is ten days from the requested date.
3. Select the number of Reminder Days for Project Center to start sending reminder notifications before pricing is due. Two days is the default.
4. Click OK to save your changes.
5. To send pricing request letters, select the PCO from the Potential Change Orders activity center, then click Generate Letter from the Tasks panel of the Potential Change Orders activity center to open the Generate Letter dialog box as shown here:
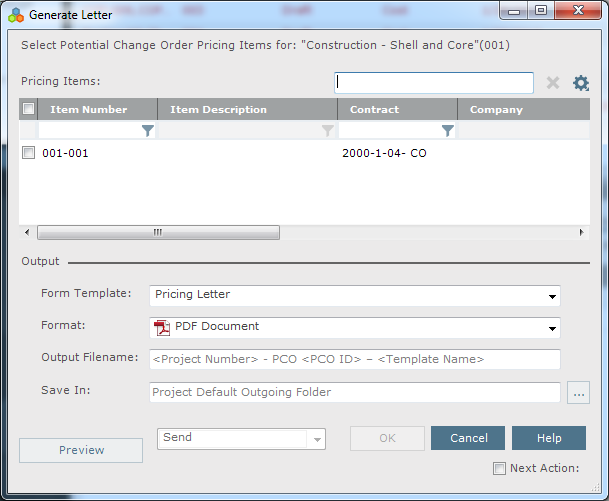
6. Mark the checkboxes of the items you want to send pricing letters for.
7. Select the Form Template and Format to use.
8. Project Center automatically sends reminders each day until the PCO is closed.
9. Mark the Next Action checkbox to send the letter after you click OK.
10. Click OK to generate the letter and send it.
After you receive the quotes from the pricing request, perform the following steps to record the values.
1. In the Pricing tab, select the date the pricing was received from the subcontractor in the Pricing Received field, as shown here.
Notifications stop being sent when this date is entered.

2. Enter the pricing amount proposed by the subcontractor in the Proposed Amount field.
Subcontractors using Info Exchange can login to this project to submit their own pricing information and upload supporting files. Project Center will automatically fill in the Pricing tab with the information.
3. To expedite pricing to complete it, you can call the subcontractors or send formal letters using the same process explained in the previous section, but with a different template, if necessary.
4. Optional: Once all of the pricing is received from the subcontractors, you can change the PCO's Status to Pricing Completed.
5. Click OK to save your changes.
6. The pricing summary fields at the top of the Pricing tab display the following information:
● Estimated is the sum of the Estimated Amount column.
● Proposed is the sum of the Proposed Amount column.
● Approved is the sum of the Approved Amount column.
● Forecast is the sum of the values of each row that are furthest to the right, as shown in this example:
After all pricing items have been approved, perform the following steps to enter the approved values, create change orders, and link them to the PCO's line items.
1. Enter the amount approved by the GC in the Approved Amount fields. The resulting change orders will be based on these amounts.
2. Enter the number of approved additional work days in the Approved Days fields.
3. Click OK to save your changes.
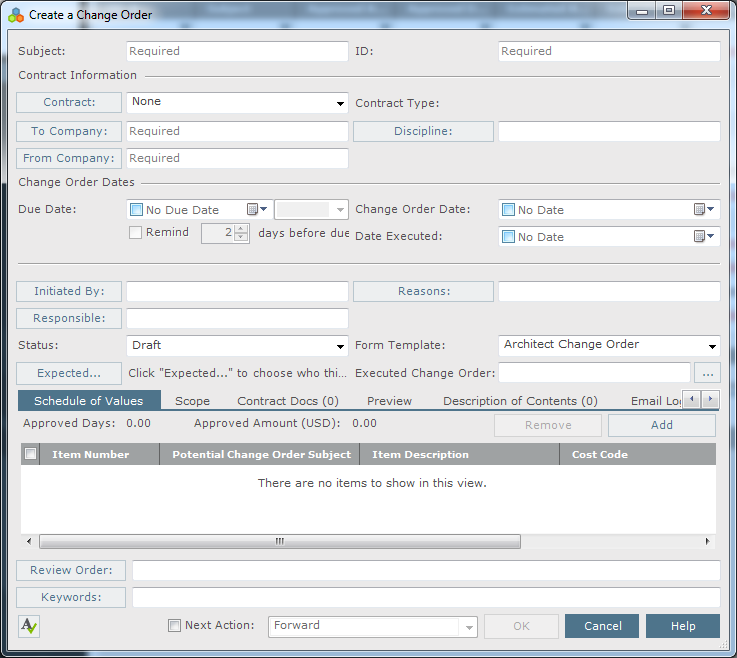
4. Go to the Change Orders activity center and click New Change Order > Create Change Order to open the Create a Change Order dialog box to create a change order.
5. Enter the Subject and select the related contract in the Contract field.
6. In the Schedule of Values tab, click Add to open the Select Potential Change Order Pricing Items dialog box to select the pricing items from which to create the change order, as shown here:
7. Enter any other information as necessary.
8. Click OK to create the change order. A hyperlink to the change order is automatically added to the Change Order column of the PCO's Pricing tab as a cross-reference, as shown here: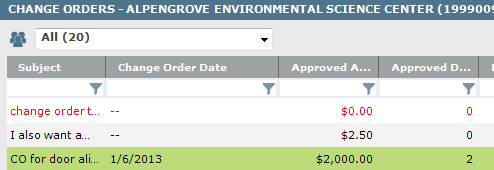
Once the change order has been created and linked to the PCO, the pricing item row can no longer be edited. If a change is required, the link to the change order must be removed before the PCO can be edited. You can remove the link by deleting it from the change order.
If you click the change order link, the Modify Change Order dialog box will open.
1. After all pricing items have been approved and change orders have been created for all non-zero items linked to contracts, you can close the PCO simply by changing its Status to Closed.
2. Click OK to save your changes.
1. To void a PCO that is no longer required, simply change its Status to Void. The values will no longer be applied to the scoreboard or financial summaries.
2. Click OK to save your changes.
See Log a Project Center Item from Microsoft Outlook.
See Download Files from Info Exchange and Track Them with a Contract Management Item.
See File Multiple Attachments Received in an Email Message as Contract Management Items.