Perform the following steps to rename a project folder and repair the resulting broken links, or to repair broken links if a folder was inadvertently renamed.
This procedure should only be performed by a network administrator.
You must be a Project Center administrator to perform this procedure.
1. To locate the project folder, open the Project Files activity center by clicking Project Files from the Project Home activity center or the Activities list.
2. Select the project folder you are renaming.
3. Click Explorer Tasks > Select in Explorer from the Tasks panel to open Windows Explorer to the exact location of the folder.
4. Rename the project folder in Windows Explorer.
5. Refresh the view in Project Center.
6. Optional - for shared folders only: Click Synchronize Contents from the Related Item Tasks panel and continue the steps to synchronize the folder. After syncing, the new name will appear on Info Exchange.
If you want to rename a project folder without having to repair broken links, simply select the folder in the Project Files activity center and click Explorer Tasks > Rename. The folder is also renamed in Windows.
1. If you are not already there, open the Project Center Administration activity center (shown below) by clicking Project Center Administration from the Tasks panel of the My Project Center activity center, or from the Activities list.
2. From the Projects tab, select the project containing the renamed folder.
3. Click Edit Settings from the Tasks panel to open the Edit Project Settings dialog box, as shown here:
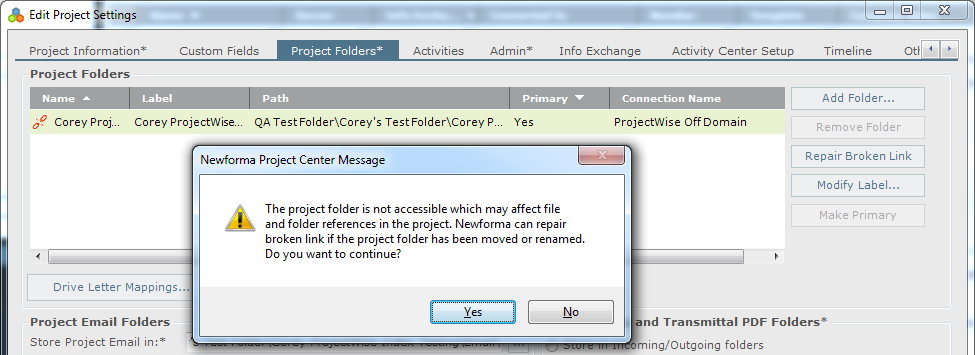
4. Click the Project Folders tab. From the Project Folders section, select the folder that was renamed. It is indicated with a broken link ![]() icon, then click Repair Broken Link. If the Newforma Project Center Message appears, click Yes.
icon, then click Repair Broken Link. If the Newforma Project Center Message appears, click Yes.
5. In the Choose a Folder dialog box, locate the folder in its new location and click OK.
6. Click OK in the Edit Project Settings dialog box to save the changes.