


Review and Mark Up a Document Set
To review and mark up a milestone set of drawings, create a document set to organize the drawings. Using a document set enables you to group all of the deliverables associated with a milestone without moving or copying the actual source files. The whole project team can then use the document set to review, mark up, and revise the milestone drawings.
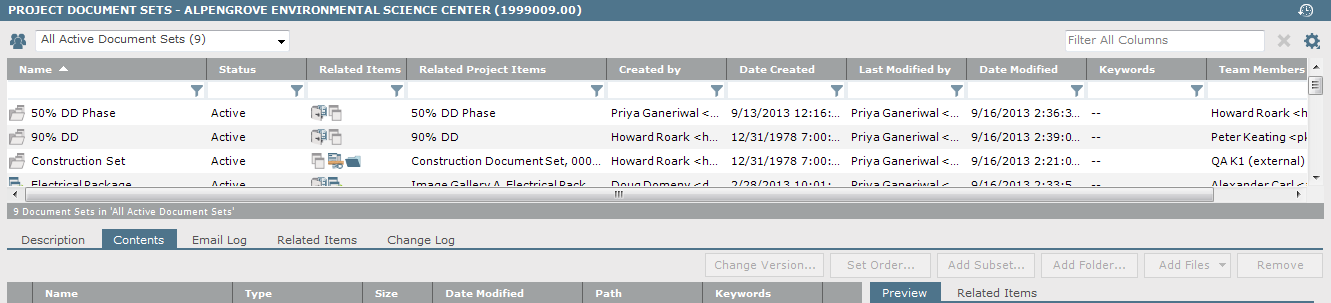
In the following example, Drawing Set 1 (in the top section) is a master document set consisting of a Subset for Drawing Set 1 sub-document set and several .DWG files (in the bottom section). The Drainage Summary.dwg file has two related items, one of which is a markup (indicated by the  icon). In this example, the document set replaces the hard-copy “red-line" set that is traditionally passed around the office to collect everybody’s comments. Instead of plotting the drawings and passing them around for each team member to add comments and affix post-its, team members can use the Newforma Viewer to review and mark up the drawings.
To review and mark up document sets
1. If you are not already there, open the Project Document Sets activity center by clicking Document Sets from the Project Home activity center or from the Activities list.
2. Create a new document set and add the necessary drawing files to it.
3. Open the files in the Newforma Viewer and mark them up.
4. Save the markup sessions using the Save Markup Session As dialog box.
After the drawings in the document set have been reviewed and marked up, team members can easily browse, preview, and add comments to each markup session using the Project Markup Sessions activity center. This activity center consolidates all markup previews and comments, allowing the whole project team to interact with and contribute to a centralized electronic red line set.
In order for markup sessions to be previewed and commented on in the Project Markup Sessions activity center, users must save each markup in the Newforma Viewer.
5. To review and mark up a document set, go to the Project Document Sets activity center and select the document set you created that the source files were added to. Next, click the Contents tab to list the source files. The related markup sessions for the drawings will be listed in the Related Items tab for each file, as shown here: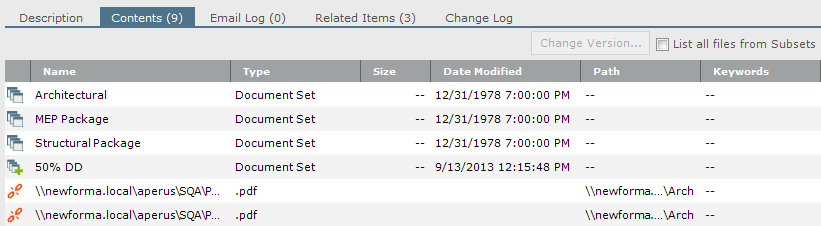
6. Select a markup session from the Related Items tab, then click Select in Log from the Related Items Tasks panel, as shown here, to open the Project Markup Sessions activity center. Use this activity center to manage the markup sessions.
7. When markups have been addressed and the revised source drawings have been submitted, simply open the Project Markup Sessions activity center and view the related markup sessions to verify the corrections. There is no need to plot the revised drawings and transfer the comments manually, as is often necessary with the hard-copy red line set process. Once all of the corrections to the source drawings have been verified, you can change the status of the markup session by clicking Modify Properties from the Tasks panel to open the Modify Markup Session dialog box and changing the Open status to Closed.
Table of Contents
Index
Search (English only)
Back