
Use the following guidelines to set up projects so that internal and external Project Center users can use Info Exchange.
You must be a Project Center administrator to perform this procedure.
1. If you are not already there, open the Project Center Administration activity center (shown below) by clicking Project Center Administration from the Tasks panel of the My Project Center activity center, or from the Activities list.
2. Click the Projects tab.
3. Select the project you want to configure from the list, then click Edit Settings from the Tasks panel to open the Edit Project Settings dialog box.
4. Click the Activities tab.
5. Move Info Exchange to the Activities column (if it is not already there), as shown here, which will make the Info Exchange activity center available in the project.
6. Click OK to save the changes.
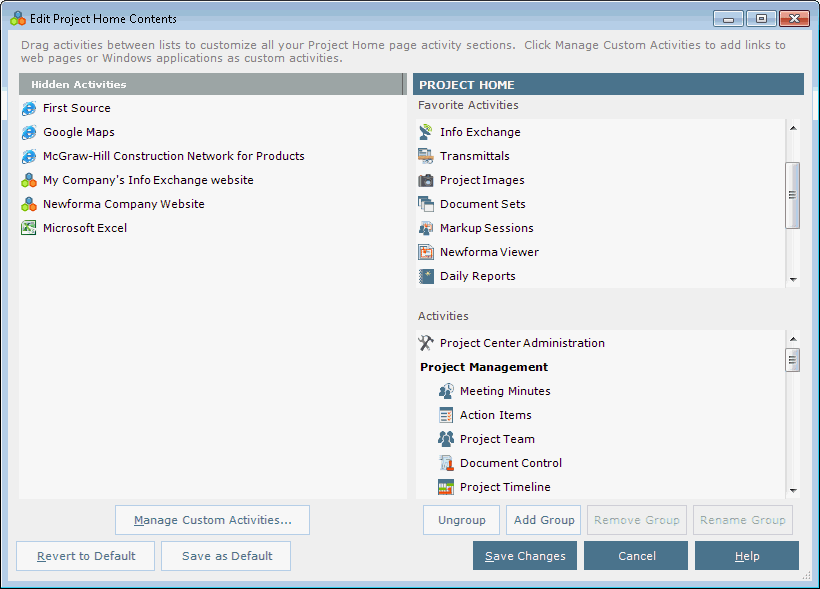
7. Click ![]() from the Project Center Toolbar and select Project Home Contents to open the Edit Project Home Contents dialog box, shown here, to place Info Exchange where you want it to appear in the Project Home activity center.
from the Project Center Toolbar and select Project Home Contents to open the Edit Project Home Contents dialog box, shown here, to place Info Exchange where you want it to appear in the Project Home activity center.
● If it is in the Hidden Activities column, move it to one of the Activities columns.
● Place it in the location in which you want it to appear in the Project Home activity center and the Activities list.
8. Apply the customized Project Home activity center and Activities list to all users. See the To apply the customized Project Home activity center to all users section of the Customize the Project Home Activity Center and Apply It to All Users topic for information on how to do this.
9. Click Save Changes.
10. Continue with the sections below.
Add the project and activity center to Info Exchange. See Make a Project and Its Activity Centers Available on Info Exchange for information on how to do this. After you add the project and activity center to Info Exchange, you must assign permission sets to internal and external users.
Refer to the Project Center Administration Activity Center Permission Sets tab and Assign Permission Sets to Users topics for more information.
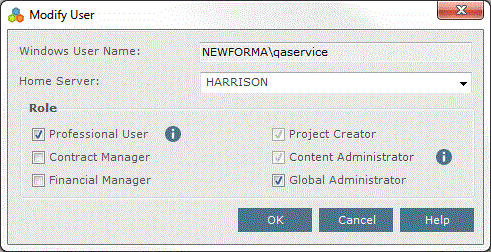
Assign roles (shown here) to users depending on the level of access you want them to have on Project Center and Info Exchange. Refer to the Project Center Administration Activity Center Licensing tab and Modify User Roles topics to assign roles to users.
Add users to the project team so they have full access to the project. Go to the Project Team activity center and click either Add Team Members > From Contacts or Add Team Members > From Company from the Tasks panel depending on how you want to add team members to the project.
If the project is confidential, users will not be able to see it unless they are administrators or on the project team, depending on the confidentiality setting in the Edit Project Settings dialog box.
Go to the Info Exchange activity center and the Info Exchange website and start using them to transfer files.