


Set Up Project Information Link
Use the following guidelines to set up projects so that internal and external Project Center users can use building information management (BIM) (which includes Newforma Project Information Link and the Building Models and Elements activity center) in Project Center and Info Exchange.
Install Revit
Make sure Revit is installed.
Set Up Building Information Management
Before setting up Project Information Link, you must Set Up Building Information Management.
Register and enable Newforma Project Information Link
After you install Revit and set up BIM, register Newforma Information Link.
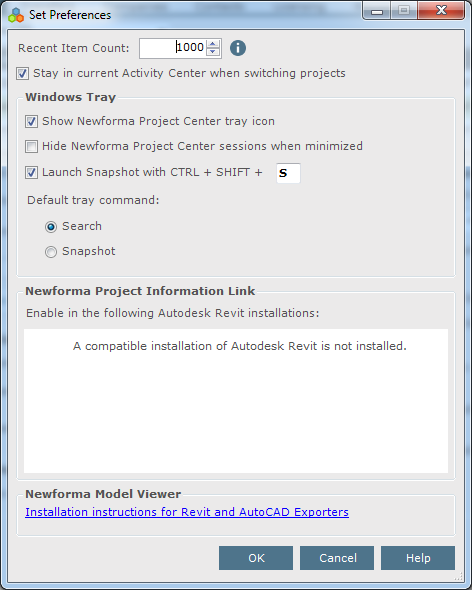
1. In Project Center, click ![]() and select Preferences from the menu to open the Set Preferences dialog box, shown below.
and select Preferences from the menu to open the Set Preferences dialog box, shown below.
2. Mark the appropriate Revit checkbox(es) in the Newforma Project Information Link section of the dialog box to register and enable the Newforma Project Information Link in Revit. You must then restart Revit for the changes to take effect.
Initialize Newforma Project Information Link
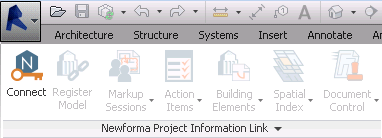
After it is registered, the Newforma Project Information Link is added to the ribbon tab under Newforma:
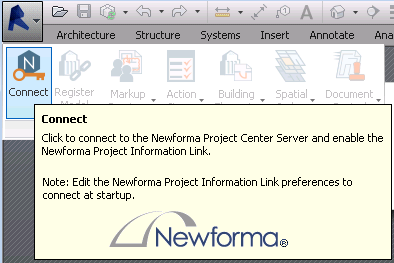
You must click Connect to activate it. The connection process does the following:
● It connects to your local Project Center Server.
● It loads your user information from the Project Center database.
● It initializes your email session in case email is sent from the Newforma Project Information Link.
By default, Newforma Project Information Link starts in a state that uses the least amount of resources possible. This is important because Revit has resource challenges with large projects. In the default state, Newforma Project Information Link only loads the toolbars.
When a Revit project is loaded, Newforma Project Information Link will query the Project Center Server to see if the active Revit project (.RVT file) is registered as a building model. If it is registered, then a project connection can be established. This will happen automatically whenever a new .RVT file is opened.
Connecting automatically
You can configure Newforma Project Information Link to automatically connect to the Project Center Server by clicking the Newforma Project Information Link drop-down...
clicking Newforma Project Information Link Preferences...

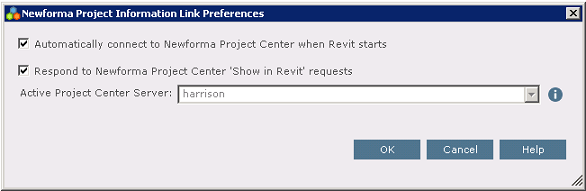
and marking the Automatically Connect to Newforma Project Center When Revit Starts checkbox in the Newforma Project Information Link Preferences dialog box:
Change the Active Project Center Server for Newforma Project Information Link
In a multi-office scenario, you may need to work on Revit models registered to Newforma projects on different Project Center servers. In this case, you will need to switch the active Project Center Server for Newforma Project Information Link. To do so, open the Newforma Project Information Link Preferences dialog box, shown above, and select the appropriate server from the Active Project Center Server drop-down list.
Use Newforma Project Information Link
Refer to the Use Newforma Project Information Link topic.
Table of Contents
Index
Search (English only)
Back