


Transfer Files Via Info Exchange
Perform the following steps to transfer project files via Info Exchange.
You must be a member of the internal project team to perform this procedure.
To send files via Info Exchange
1. If you are not already there, open the Project Files activity center (shown below) by clicking Project Files from the Project Home activity center or from the Activities list.
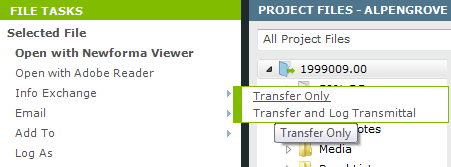
2. Select the files you want to send, then click Info Exchange > Transfer Only from the Tasks panel (as shown here) to open the Transfer Files to a Newforma Info Exchange Server dialog box (shown below).
There are several other ways to transfer files via Info Exchange. You can also access the Transfer Files to a Newforma Info Exchange Server dialog box to transfer files from the Info Exchange Activity Center, the Newforma Project Center Tray Tool, and from Windows Explorer. Refer to the dialog box's Help for more information.
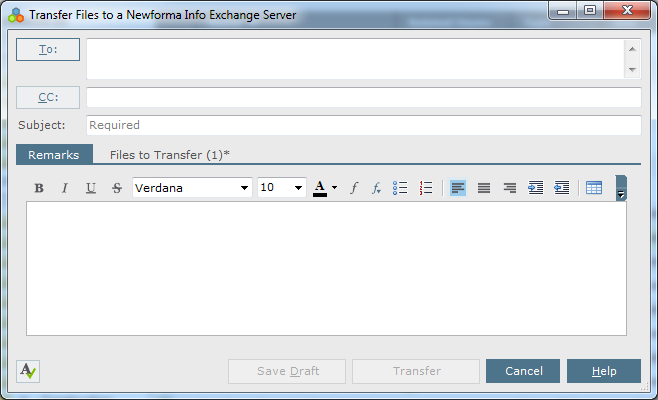
3. Click To to open the Choose a Project Team Member dialog box to choose the project team members you want to send a notifying email message to regarding the file transfer.
4. Enter a subject in the Subject field.
5. Enter a detailed message in the Remarks tab.
6. You must include at least one file in the transfer. To add more files, click the Files to Transfer tab, then click the  icon. Navigate through the folders until you locate the files, then click Open. Repeat as necessary until you have added all the necessary files.
● Choose an option from the External References drop-down list if you want to include externally referenced files in the file transfer.
● The Save Record Copies in field contains a default location in which a record copy of the file transfer will be saved. You can change the location by clicking the  icon.
icon.
7. Click Transfer to open the Transfer to Info Exchange Options dialog box to edit the settings for the file transfer, including who can access it and reminder settings, and transfer it to your Newforma Info Exchange Server. The file transfer is logged in the All Outgoing log of the Info Exchange activity center.
You can click Save a Draft to save a draft of the file transfer without sending it. It will appear in the All Drafts log of the Info Exchange activity center. The files will not be sent.
Expiration dates on file transfers uploaded to Info Exchange are not set until the record copy is created in a project folder, which occurs either when the recipient manually receives the transfers in Project Center or when the Project Center Server automatically downloads the file transfers (if the automatic download option is enabled).

Table of Contents
Index
Search (English only)
Back