


Synchronize and Add Record Document Revisions Using Project Information Link
Perform the following steps to simultaneously synchronize the sheet properties and generate an updated PDF of the latest revision of a sheet, which is automatically linked to the record document revision in Project Center using Newforma Project Information Link.
For information on publishing DWGs of the sheets to Project Center at the same time the PDFs are published, please see Publish Sheets to DWG from Revit.
To synchronize and add record document revisions
1. If you are not already there, open the project in Revit that contains the sheets you want to synchronize with Project Center and initialize Newforma Project Information Link.
2. Click Document Control > Synchronize and Add Revisions, as shown below.
3. In the Synchronize and Add Revisions dialog box, shown below, all sheets from the Revit model are automatically listed in the bottom section (under Select the Items to Synchronize) with the default action Create Newforma Record Document, which will create a record document in Project Center with a linked PDF of the latest revision of the sheet.

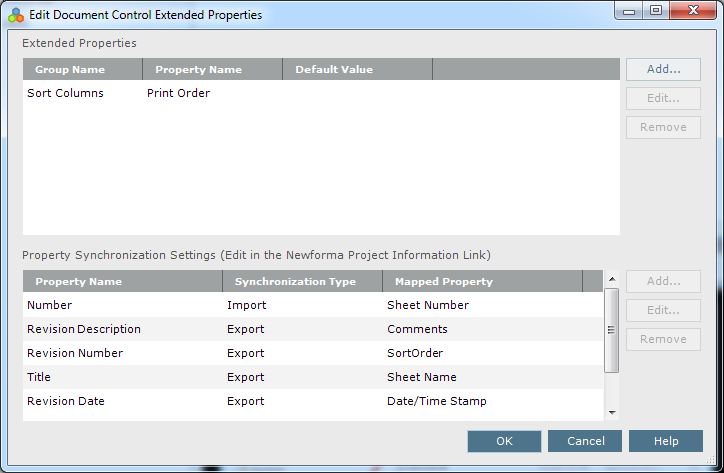
4. Click Sync Settings to open the Edit Settings for Document Control Properties dialog box, shown below, to specify which properties to synchronize.
5. Filter the Parameter Name column to select the Revit parameters you want to map.
6. Select the parameters and click Create Matching Extended Property to create matching Newforma extended properties for each of them.
7. Enter the group name for the new properties that will be created and click OK.
The two Revit parameters from the top section are added as extended properties in the Newforma Properties section at the bottom, as shown in this example:
8. Click OK to save the changes. The properties are automatically added to the top section of the Synchronize and Add Revisions dialog box, as shown here:

9. Make sure all the properties you want to synchronize are selected in the Select the Properties to Synchronize grid.
Newforma properties described as Required must be mapped and selected for synchronization in order for synchronization to work. For more information on required properties, please see Record Document Revision Synchronization Rules when using Synchronize and Add Revisions.
10. Select the sheets you want to synchronize in the Select the Items to Synchronize grid.
11. Click Synchronize in the Synchronize and Add Revisions dialog box to perform the sync. A message similar to the following will appear:
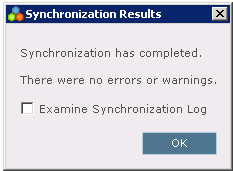
The sheets selected in the bottom section are added as record documents in Project Center, and the properties selected in the top section are added as extended properties and shown as columns in the Document Control activity center.
If you have not already defined publish settings for PDFs, the Synchronize and Add Revisions button will not be active. Click Publish Settings to open the Publish Settings dialog box to configure the PDF publish settings.
If there is a parameter you want to use for sorting that is not in the grid, click the Add Revit Parameters button to open the Revit Parameters dialog box and select the parameter you want to add to the grid. If it does not automatically appear at the far right of the grid, right click on any column header and select it from the list of available parameters.
If there are any potential synchronization errors with the selected sheets, red error indicator text appears above the Select the Items to Synchronize grid. You must deselect the sheets or fix the error to synchronize and add revisions. For more information on synchronization rules, please see Record Document Synchronization Rules when using Synchronize and Add Record Documents.
12. Click OK to close the message and the Synchronize and Add Revisions dialog box.
13. In Project Center, open the Document Control activity center, as shown below.
Click ![]() to refresh the contents of the activity center if needed.
to refresh the contents of the activity center if needed.
● New record documents, with linked PDFs created from the Revit sheets, are added, as shown below.
● The parameters from the example above are added as columns in the Document Control activity center.
● The same two properties are added as fields in the Add/Modify a Record Document dialog box.
● The record documents and linked PDFs will now be updated whenever you click Synchronize and Add Revisions in Revit.
For additional information on synchronize and add revison rules, please see the Newforma Project Information Link (Revit) Overview topic.
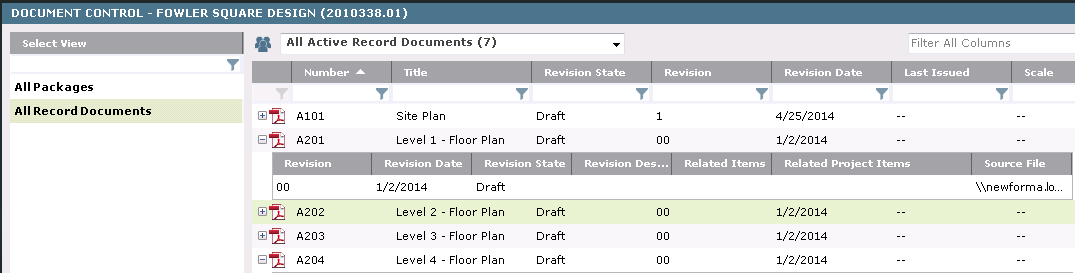
Table of Contents
Index
Search (English only)
Back