


Action Items Quick Reference Guide
This topic provides a reference for action items.
Click here to download a PDF of the reference guide.
Purpose
Newforma action items allow the project team to maintain a task list specific to the project which can be easily accessed from inside and outside the office.
Audience
Internal and external project team members.
Key Features
● Internal team members can access project action items from a central list and contribute updates or generate reports from the activity center or remotely through the Info Exchange web site.
● External team members receive email notifications for action items they are involved in and access the items via Info Exchange.
● Any email correspondence, markup or supporting document associated with the action item can be electronically linked to it, providing a permanent connection and audit trail of all related information.
Tasks covered
● Create a new action item from the activity center
● Create a new action item from Outlook
● View action items on Info Exchange
To create a new action item from the activity center
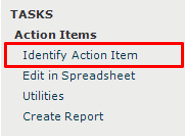
1. In the
Action Items activity
center, click Identify Action Item
from the Tasks panel.
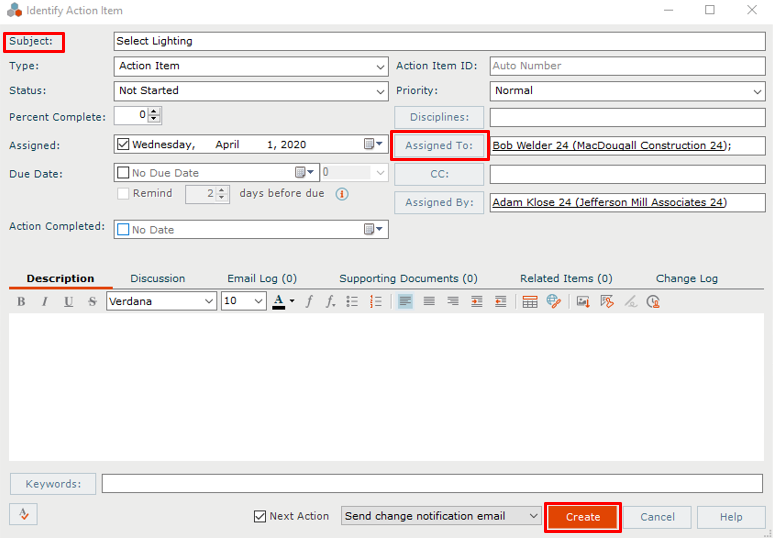
2. In the Identify Action Item dialog box, fill in the subject.
3. Click Assigned To to open the Choose a Project Team Member dialog box and assign the item.
4. Check the box next to Send Change Notification Email to notify team members that they are assigned to the action item.
5. Click Create to create the action item.
If the Send Change Notification Email box is checked, Newforma creates a notification email for you to review and send. Look for the Microsoft Outlook icon flashing in the Windows toolbar indicating the email is ready to send. Click Send and File in Action Item to send the email and file it on the Email Log tab.
To create a new action item from Outlook
You can create action items directly from an email message.
This topic covers creating action items using the legacy Project Center Add-in for Microsoft Outlook. Click here to learn about creating action items using the next generation Outlook Add-in.
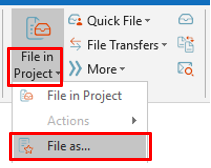
1. In Outlook,
highlight the email you want to file as an action item, then click the
dropdown arrow for the File in Project
button in the legacy Project
Center Add-In for Microsoft Outlook toolbar. Select File
As from the drop-down menu.
2. In the Select Project dialog box, double-click on the corresponding project to select it.
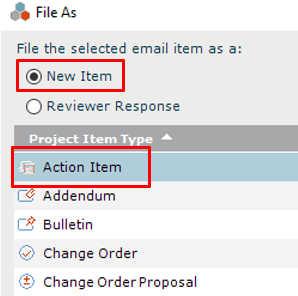
3. In the
File As dialog box,
select the New Item radio button
and Action Item from the Project Item Type list. Click OK.
4. The Identify Action Item dialog box appears. Note that the information from the email has been pulled in, saving data entry time. The email is logged with the action item and any files attached to the email appear on the Supporting Documents tab. Modify any information as needed following the instructions above and click Create to save.
Modify/update action item
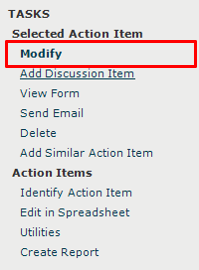
1. Select
an action item in the Action Items
activity center and click Modify
in the Tasks panel.
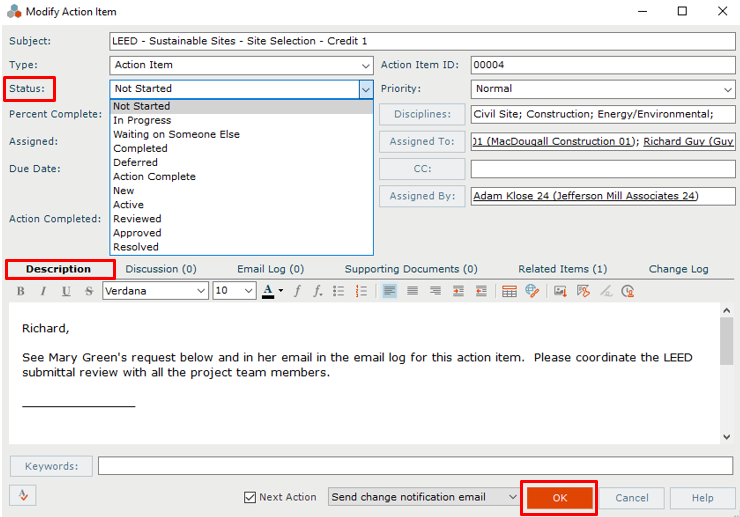
2. Update
any information in the Modify
Action Item dialog box as needed. For example, change the Status
or add information on the Description
tab. Select the Send Change Notification
Email checkbox to notify the person who assigned the action item
of any changes. Click OK to save.
To run an action items report
To run a report of action items from the activity center, follow these steps.
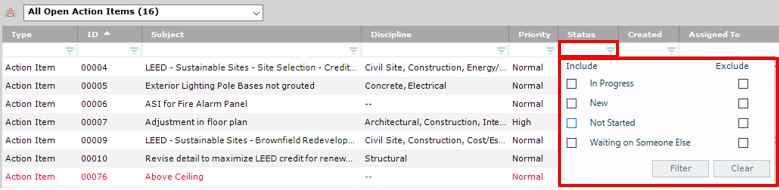
1. Filter
the Action Items activity center
log in whatever way is needed to only see the action items you want in
the report. For example, if you want to find action items that are not
started, click the filter icon in the Status
column and check Not Started,
then click Filter.
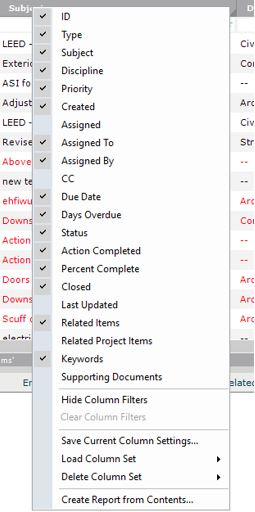
2. Next,
if you want to add or remove columns, right click over the column headings.
Check the columns you want to display and deselect the columns you want
to remove from the grid.
3. You can
also drag columns to rearrange them, or click a column header to sort.

4. Once
you have filtered and arranged columns as needed, click Create
Report in the Tasks panel.

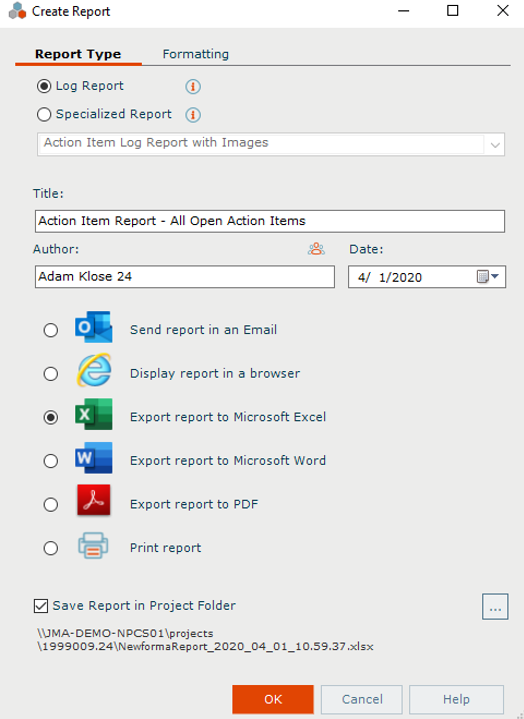
5. In the
Create Report dialog
box, review the options on the Report
Type tab and modify anything as needed. Select the type of output
you want. Click on the Formatting
tab to select other options as desired, then click OK
to generate the report.
To view action items on Info Exchange
Both internal and external project team members can add and/or update action items from the Info Exchange website.
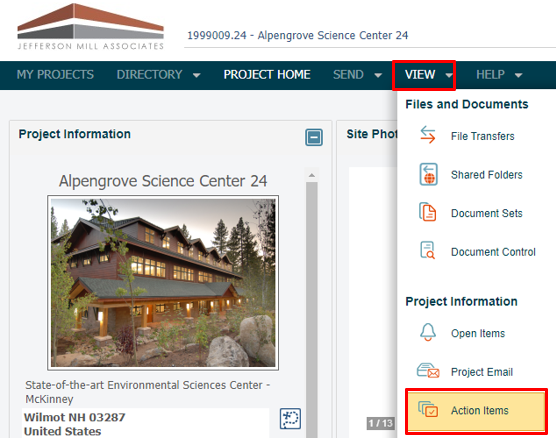
1. Log into
the Info Exchange website and select the project. In the Project
Home page Shortcuts View section,
click Action Items (you can also
select View > Project Information
> Action Items from the menu bar).
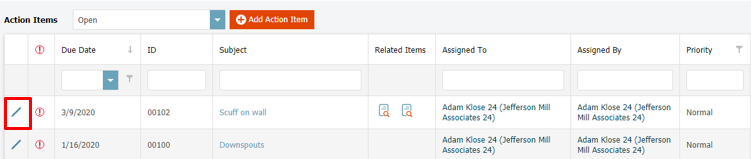
2. To update
or modify an action item, click the ![]() button to the
left of the action item. Add or change any information as needed. Any
changes are updated automatically in Project Center.
button to the
left of the action item. Add or change any information as needed. Any
changes are updated automatically in Project Center.
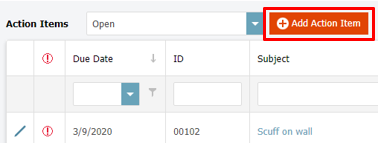
3. To add
a new action item, click Add Action Item
in the Action
Items log. Fill out the information in the Add
Action Item dialog box as desired.
4. If you assigned the action item to someone, select the Send Change Notification Email checkbox to notify the team members assigned. Click Save and Close to create the action item.
5. At the Send Email dialog box, fill out any additional information and click Send.
Table of Contents
Index
Search (English only)
Back