


Newforma App Quick Reference Guide
This topic provides a reference for the Newforma Web app.
Click here to download a PDF of the reference guide.
Overview
The Newforma Web App is a project website that facilitates the access of project files, including search, share, download and upload, filing of project emails and creating and editing action items. The Newforma app does not require VPN access and can be used through a web browser or the Newforma Mobile app.
Tasks covered
● Logging into the Newforma App
● Sharing files from the Newforma App
● Creating folders in Project Files
● Creating and editing Action Items
● Using the Newforma Mobile app
Using the Newforma App
You can access the Newforma App in the following ways:
● Newforma web app: https://newforma.cloud
● Newforma mobile app, downloaded from Google Play store or iTunes
To log into the Newforma App
Log in with your Office 365 credentials:

To search project files
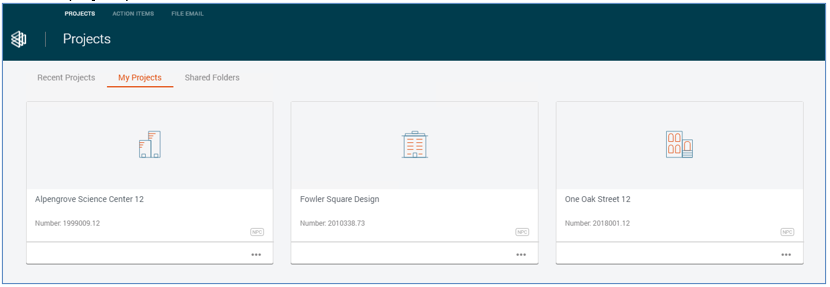
Once you have completed your initial login, yo can search Project Files.
1. Click
the project you want to search:
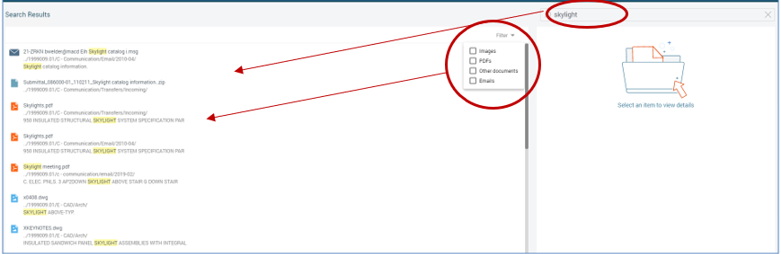
2. Enter
your search term and press Enter. The search results appear on the left
of the page. Click the Filter
dropdown at the top-right of the search results to narrow the results
by file type:
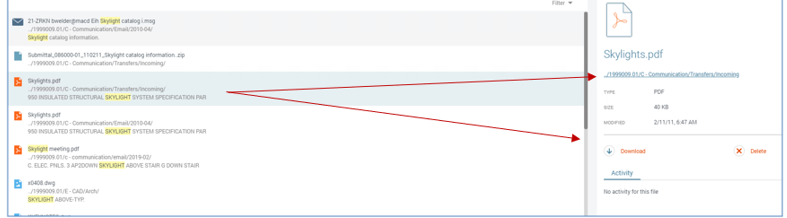
3. Highlight
a result to view item details in the right panel. Depending on your permissions,
you may have the option to download or delete the item. A hyperlink takes
you to the folder that contains the file:
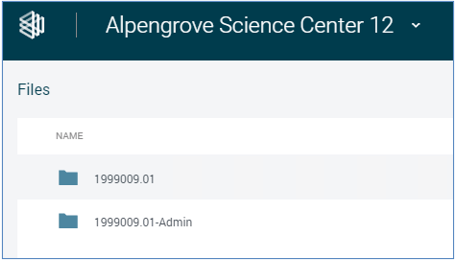
4. Click
on a folder to "drill down" into the folder structure:
To work with folders and files
Click on the ellipsis to the right of a folder to access Share, Download,
Rename and Delete options. You can also create a new folder and upload
files to the folder:
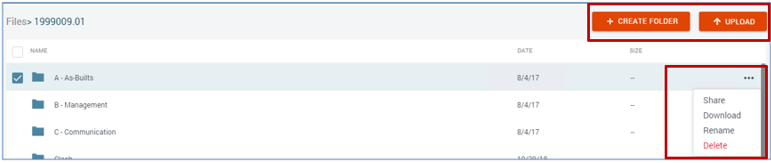
Following is a description of each of the options.
Share a folder with External Users
1. Click
Share to share a file or folder
with external users:
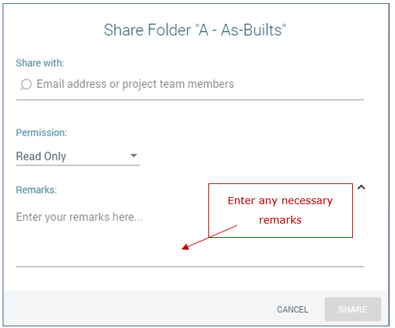
2. Type a name in the Share With field. A list of matching names and groups from the Project Team appears. You can also enter an email address directly.
3. Set share permissions from the Permission dropdown list. Options are Read Only, Read and Upload or Full Access.
4. Enter any remarks you want included with the share notification in the Remarks field.
5. Click
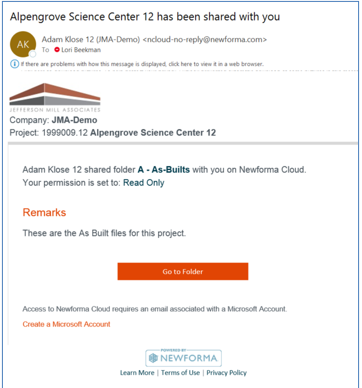
Share to share the file or folder.
The share notification email is sent to all selected users:
6. Select a folder to view Share activity in the Details panel on the right side of the page.
● To
change share permissions, click the Shared
tab in the panel. Click the permissions dropdown for the user you
want to change and select the new permission:
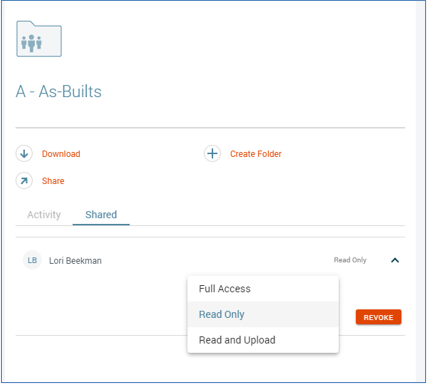
● To revoke the share, click the Revoke button for the user.
Download folder contents
Click Download next to a folder to download its entire contents. Click Download for an individual file to only download that file:

Rename a folder
Click Rename to change the name of a file or folder:

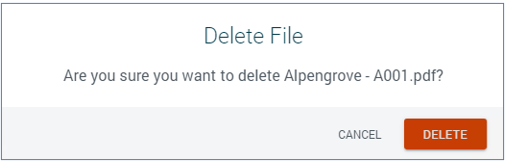
Delete a folder
Delete a file or folder. You are asked to verify the deletion before continuing:
Create a folder
Click Create Folder to add a new subfolder underneath the current folder:

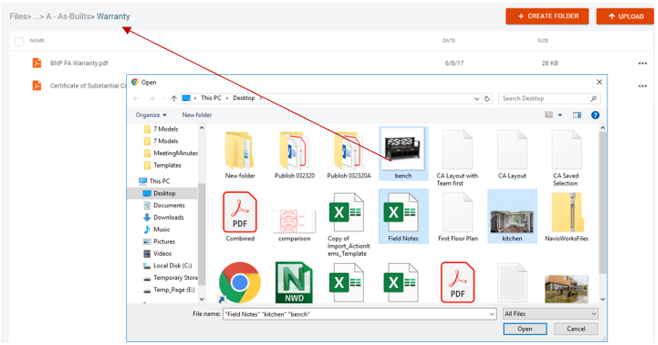
Upload files to a folder
Click Upload to upload files to the current folder. You can select multiple files to upload at one time.
You can also drag and drop files to a Newforma app folder.
To create and edit Action Items
You can use the Newforma app to create and edit action items that are assigned to you or by you that are not in a completed state.
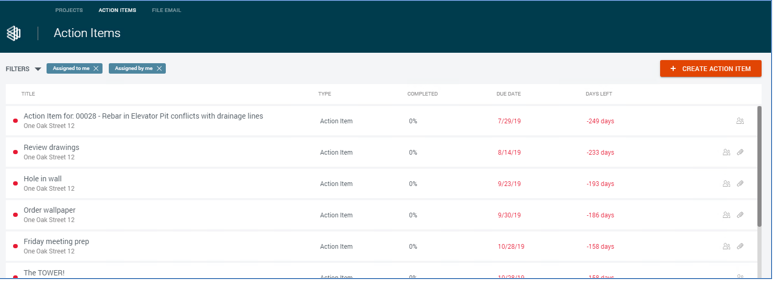
1. Click
Action Items in the top menu bar
to view the Action Items page:
2. Click
Filters in the upper-left corner
of the Action Items list to further narrow the results:
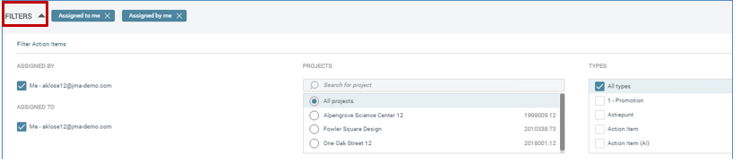
Filter options include:
● Assigned to Me
● Assigned by Me
● Project
● Type
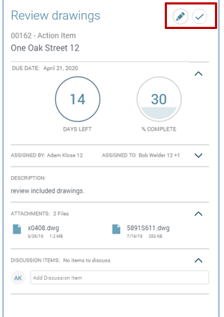
3. Select
an action item in the list to view its details in the Details
panel. Click the pencil icon
at the top of the panel to edit the action item. Click the checkmark
icon to mark the action item and Closed and remove it from your
list:
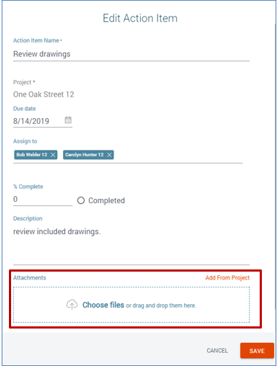
4. When
you click the pencil icon, the Edit Action
Item dialog box appears. In addition to changing attributes, you
can attach files to the action item. Click Add
From Project to select project files, or add files from your device
by clicking Choose Files or dragging
and dropping the files to the action item:
To file emails to a project
In addition to project files and action items, the Newforma app also allows you to file emails to projects while on the go.
1. Click
File Emails in the top menu bar.
Emails currently in your Inbox appear:
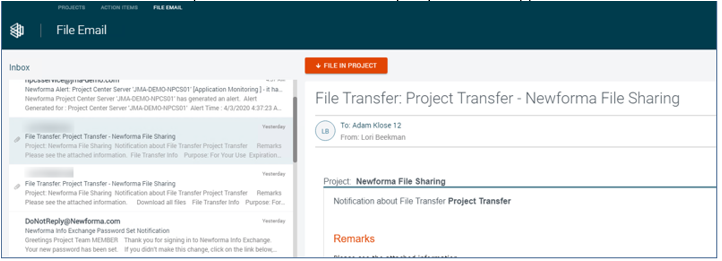
2. Highlight
an email and click File in Project:
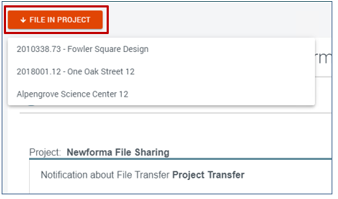
3. Select
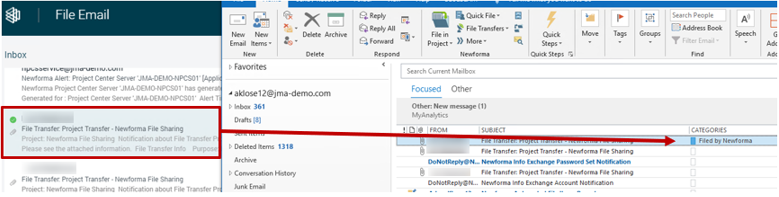
the desired project form the list. Once the email is filed, a checkmark
appears next to the email. The email remains in your Inbox and a copy
is filed to the project. In Outlook, the email is tagged with the Filed By Newforma category:
Using the Newforma Mobile App
In addition to the Newforma web app, you can download the Newforma mobile app for iOS and Android. To get started, log in with your Office 365 credentials.
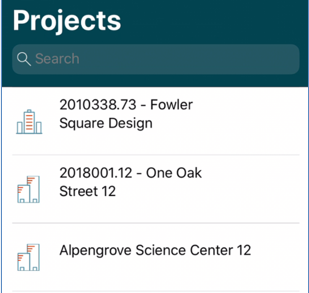
Once you login, the Projects screen appears:
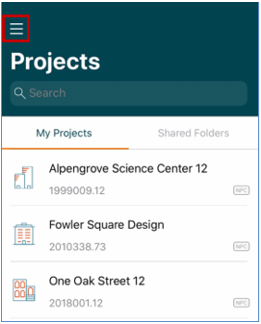
Tap the hamburger icon in the upper-left to file emails and access action items:

To work with folders and files
The same search and filter otpions are available as on the website. Tap Filter in the upper-right of the screen to access the filters:

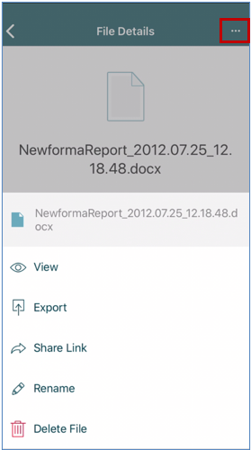
Tap on a file to view its details. Tap on the ellipsis at the top of the File Details screen to view, export, share, rename or delete the file:
Tap the ellipsis to the right of a folder to access the Share and Rename options:
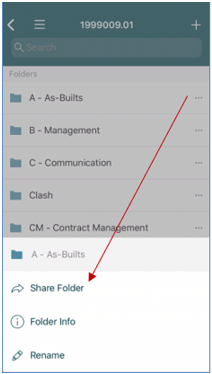
Tap the plus sign in the upper-right corner to access the Create Folder and Upload options:

To create and edit Action Items
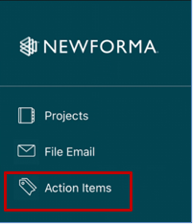
1. Tap the
hamburger button on the projects screen and tap Action
Items:
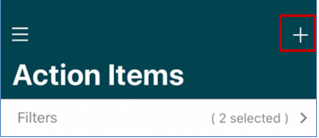
2. As with
the Newforma web app, you can apply filters to the list of action items.
Tap the plus sign at the top of the screen to create an action item:
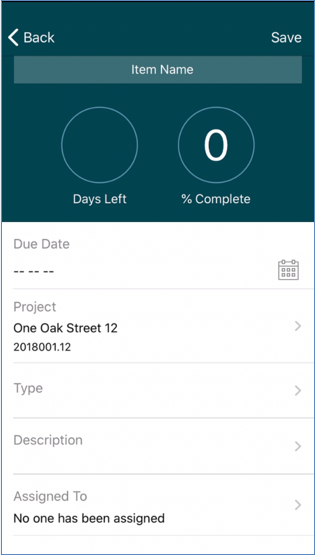
3. Enter
any values as needed and tap Save
in the top-right corner:
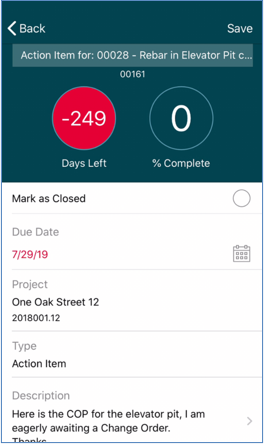
4. To edit
an action item, tap it in the list, then tap Edit
in the top-right corner. In addition to changing the action item name,
you can modify the Due Date, Description, and Assignment. You can also
mark the action item as closed:
To file emails to a project
1. Tap the hamburger button on the Projects screen and tap File Email.
2. As with
the Newforma web app, emails in your Inbox appear. If the email has already
been filed to a project, it will have a green checkmark next to it:

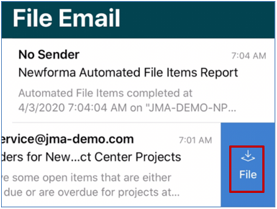
3. To file
an email, swipe left and tap File:
4. Tap the
desired project in the list:
5. Once
the email is filed, a checkmark appears next to the email. The email remains
in your Inbox and a copy is filed to the project. Indicators also appear
in the Newforma web app and Outlook:

Table of Contents
Index
Search (English only)
Back