


Project Team Quick Reference Guide
This topic provides a reference for the Project Center Project Team activity center.
Click here to download a PDF of the reference guide.
Purpose
Use the Project Team activity center to assemble and manage a unique team for each project based on who participates in the project. Assemble your project team by assigning contacts from the Project Center Contacts database to your project team. Organize and group team members to facilitate communication between internal and external team members when using functions such as transmittals, submittals, action items, and Newforma Info Exchange.
Audience
Internal project team members.
Key Features
● Create a unique team list for each project.
● Group team members to organize and facilitate communication.
● Modify contact information for project team members.
● Establish access to your Info Exchange website for the project and assign permissions.
Tasks covered
● Add people to the project team
● Give team members access to the Info Exchange website
● Modify or remove team members
● Communicate with the project team
To add people to the project team
1. Click Add Team Members > From Contacts from the Tasks panel in the Project Team activity center.
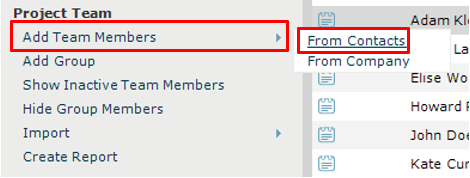
Click From Company to select from a list of contacts by company.
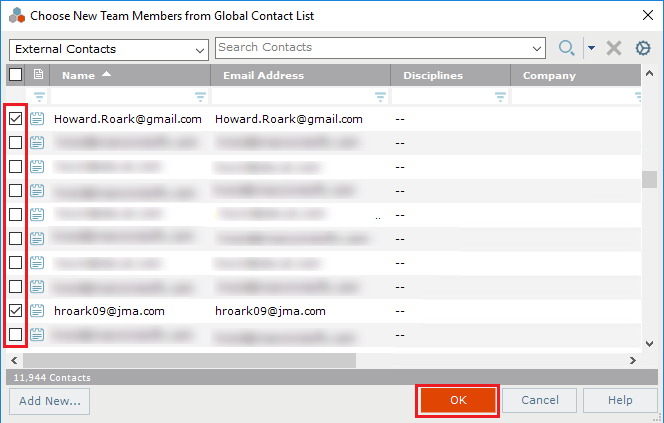
2. Select team members in the Choose New Team Members from Global Contact List dialog box and click OK.
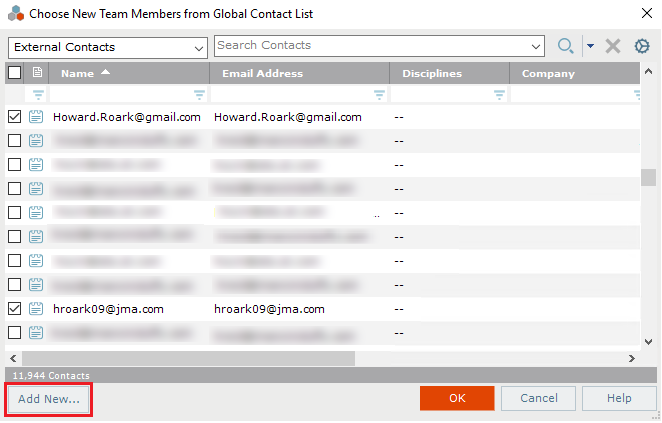
3. Click Add New to add a new team member that is not already in the contacts database.
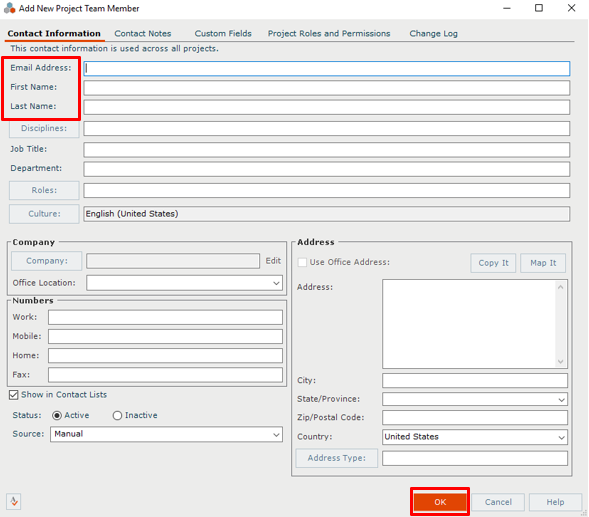
4. In the Add New Project Team Member dialog box, enter either a valid and unique Email Address or a First Name and/or Last Name. Fill in any other contact information you wish and click OK.
To give team members access to the Info Exchange website
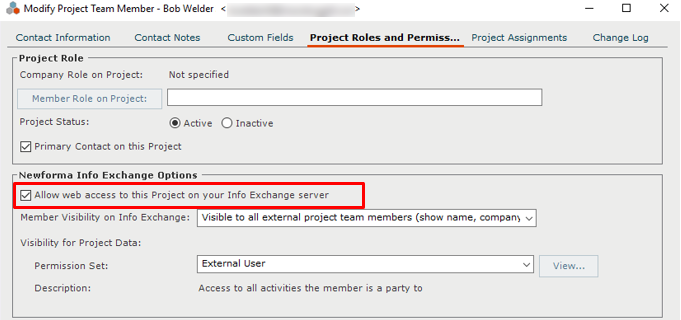
1. To give a team member access to the Info Exchange website, select their contact record and click Modify in the Tasks panel. Select the Project Roles and Permissions tab.
2. Select the Allow Web Access to this Project on Your Info Exchange Server checkbox.
3. Verify the correct Permission Set is applied. Anyone outside your company is automatically identified as an external user.
4. If this is the first project the user has been given access to, they will receive an email with a link to login and a temporary password. After logging in they will change their password and can access this project’s information.
Note: If you want to view project information on the website, you must also join the project team.
To modify or remove team members
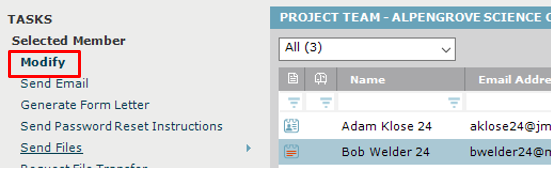
1. To modify a team member’s information select the team member and click Modify in the Tasks panel.
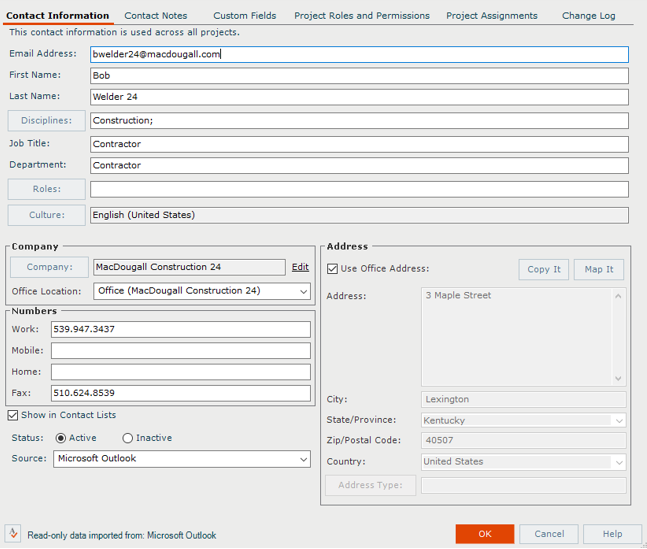
2. Make any necessary changes to the Contact Information, Contact Notes, Project Roles and Permissions, or Project Assignments tabs in the Modify Project Team Member dialog box and click OK.
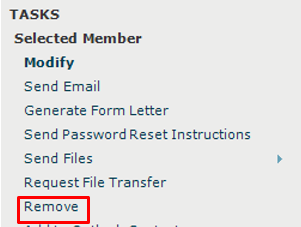
3. To remove the contact from the project team select contact and click Remove in the Tasks panel. This removes the contact from the project team but not the Global Contacts List.
To create project team groups
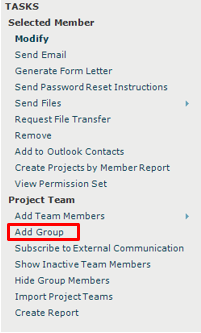
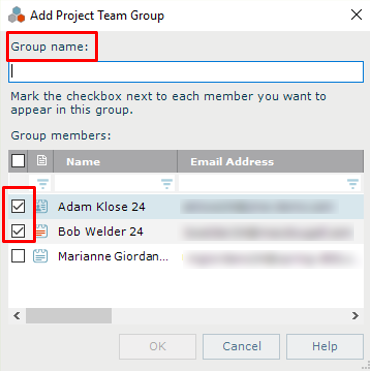
1. To organize the project team into groups click Add Group in the Tasks panel.
2. Assign a Group Name and select the Group Members in the Add Project Team Group dialog box. A group member can be assigned to multiple groups.
To communicate with the project team
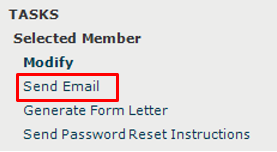
1. To send an email to a project team member or group select the team member or group and click Send Email in the Tasks panel.
2. To send files via email or Info Exchange to a project team member or group click on Send Files and choose Via Info Exchange or Via Email.
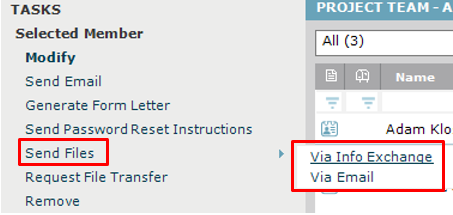
3. Fill in the Subject, add any Remarks and Add Files or Add Folders you wish to send on the Files to Transfer tab. Click Send or Transfer depending on whether you chose via Email or via Info Exchange.
![]()
Table of Contents
Index
Search (English only)
Back