


Set Up Project Teams
Use the following guidelines to set up project teams for projects in Project Center and Info Exchange.
You must be a Project Center administrator to perform this procedure.
Initial configuration
To make project teams available in Project Center
1. If you are not already there, open the Project Center Administration activity center (shown below) by clicking Project Center Administration from the Tasks panel of the My Project Center activity center, or from the Activities list.
2. Click the Projects tab.
3. Select the project you want to configure from the list, then click Edit Settings from the Tasks panel to open the Edit Project Settings dialog box.
4. Click the Activities tab.
5. Move Project Team to the Activities column (if it is not already there), as shown here, which will make the Project Team activity center available in the project.

6. Click OK to save the changes.
7. Click ![]() from the Project Center Toolbar and select Project Home Contents to open the Edit Project Home Contents dialog box, shown here, to place Project Team where you want it to appear in the Project Home activity center.
from the Project Center Toolbar and select Project Home Contents to open the Edit Project Home Contents dialog box, shown here, to place Project Team where you want it to appear in the Project Home activity center.
● If it is in the Hidden Activities column, move it to one of the Activities columns.
● Place it in the location in which you want it to appear in the Project Home activity center and the Activities list.
8. Apply the customized Project Home activity center and Activities list to all users. See the To apply the customized Project Home activity center to all users section of the Customize the Project Home Activity Center and Apply It to All Users topic for information on how to do this.
9. Click Save Changes.
10. Continue with the sections below.
Licensing and restrictions
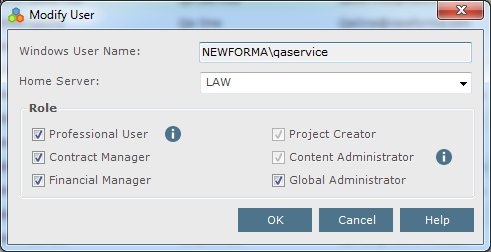
No special licensing or role is required. Any user can add or edit project teams. Any combination of checkboxes in the Modify User dialog box can be marked (or none), as shown here:
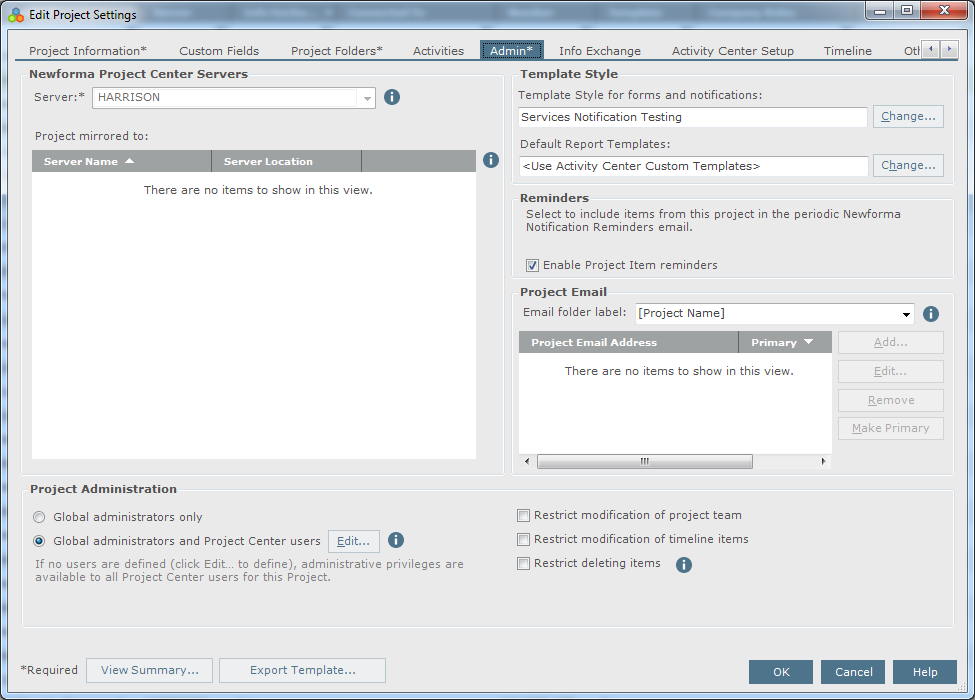
However, an administrator can configure each project so that only administrators can add, edit, and delete project team members. To do this, mark the Restrict Modification of Project Team checkbox in the Admin tab of the Edit Project Settings dialog box, as shown here:
Info Exchange configuration
Add the project and activity center to Info Exchange. See Make a Project and Its Activity Centers Available on Info Exchange for information on how to do this. After you add the project and activity center to Info Exchange, you must assign permission sets to internal and external users.
Assigning permission sets to internal and external users
Refer to the Project Center Administration Activity Center Permission Sets tab and Assign Permission Sets to Users topics for more information.
Team member access and visibility on Info Exchange
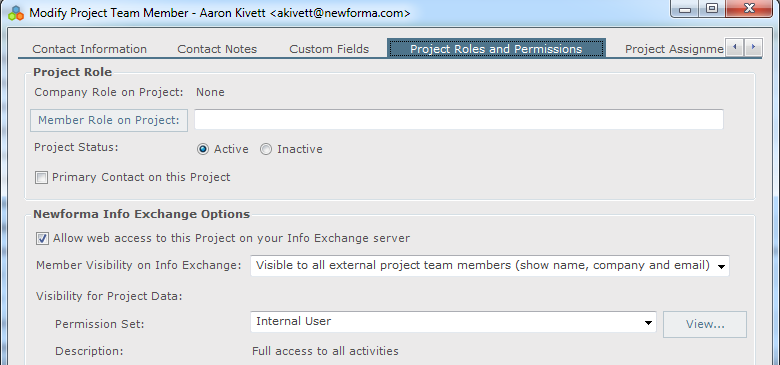
To give a project team member access to this project on Info Exchange, mark the Allow Web Access to This Project on Your Info Exchange Server checkbox in the Modify Project Team Member dialog box, as shown below.
The Member Visibility on Info Exchange setting determines which external project team members can see this project team member, and how much information they can see. This is important since some internal members such as partners or administrative staff may want to join the team but not allow external members to see their contact details on Info Exchange. Additionally, there may be external project team members you may want to hide from one another (such as competitors on a bid package you are working on).
Getting started
Add users to the project team so they have full access to the project. Go to the Project Team activity center and click either Add Team Members > From Contacts or Add Team Members > From Company from the Tasks panel depending on how you want to add team members to the project.
If the project is confidential, users will not be able to see it unless they are administrators or on the project team, depending on the confidentiality setting in the Edit Project Settings dialog box.
Table of Contents
Index
Search (English only)
Back